PrintMyTargets LLC Logo
Back To Tutorials

1 Page Self-Standing Target Tutorial

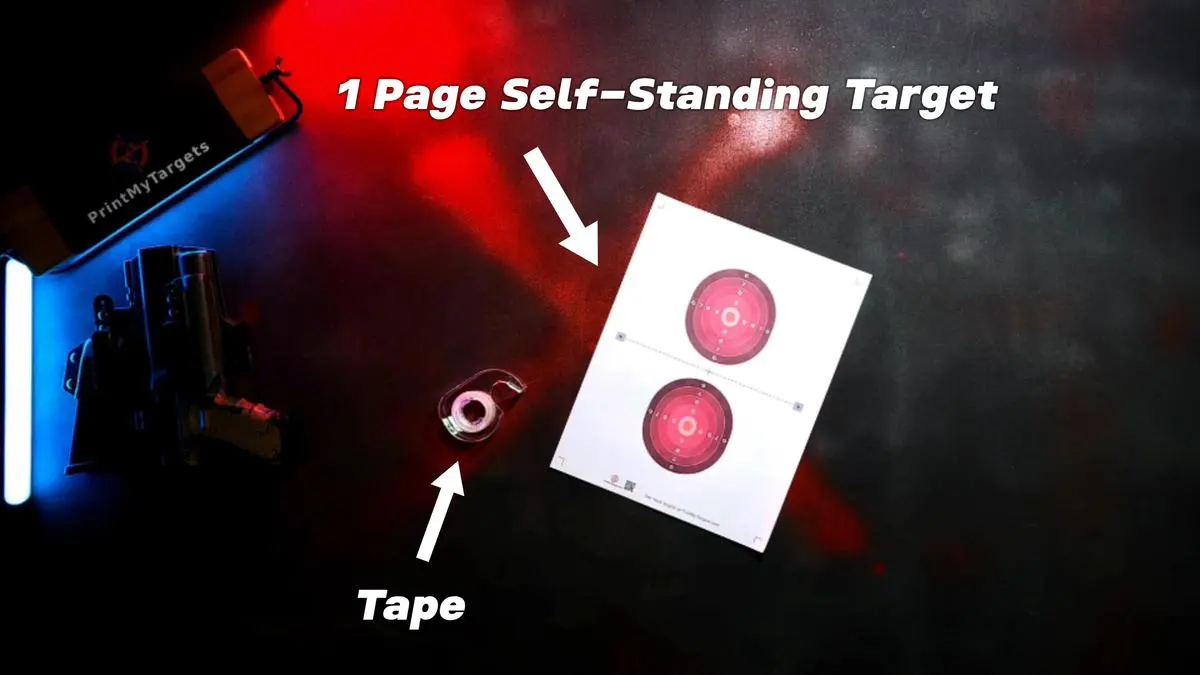
What Materials Are Needed?

  • 1 Page Double-Sided Self-Standing Paper Target 
  • Tape
  • Estimated Time to Create Target: 20-60 Seconds
What is needed to build the 1 page self-standing paper target? You need tape and the 1 page target printed out.You only need tape and the 1 page self-standing target to get started.

Step 1

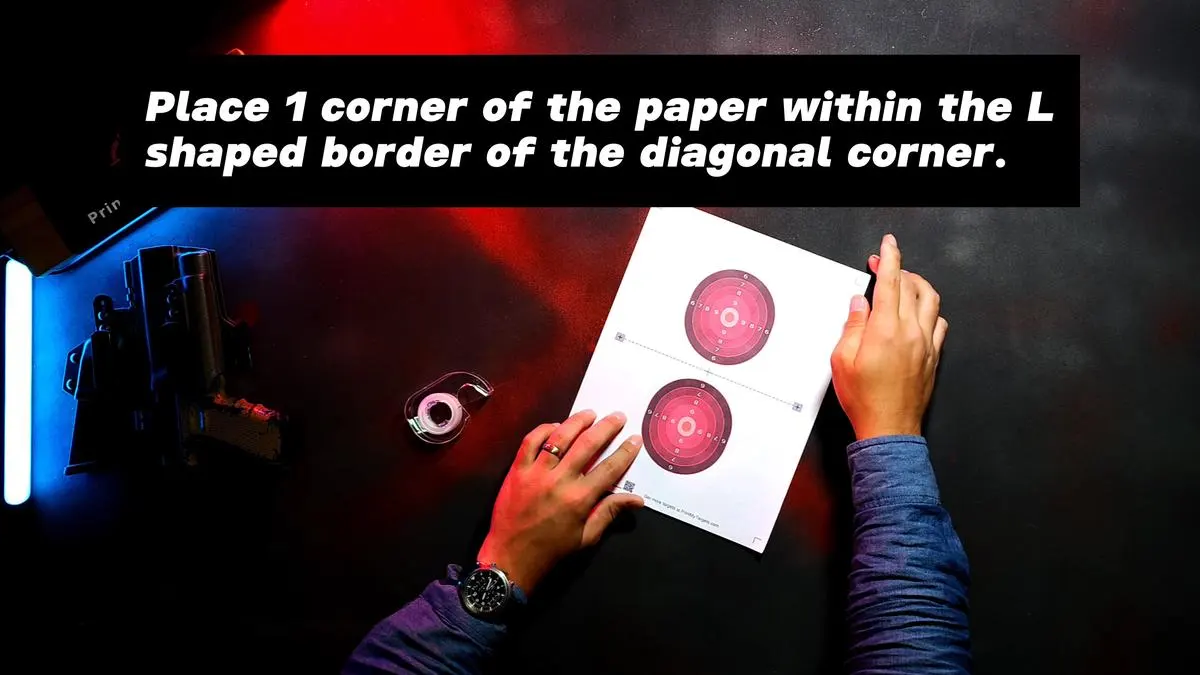
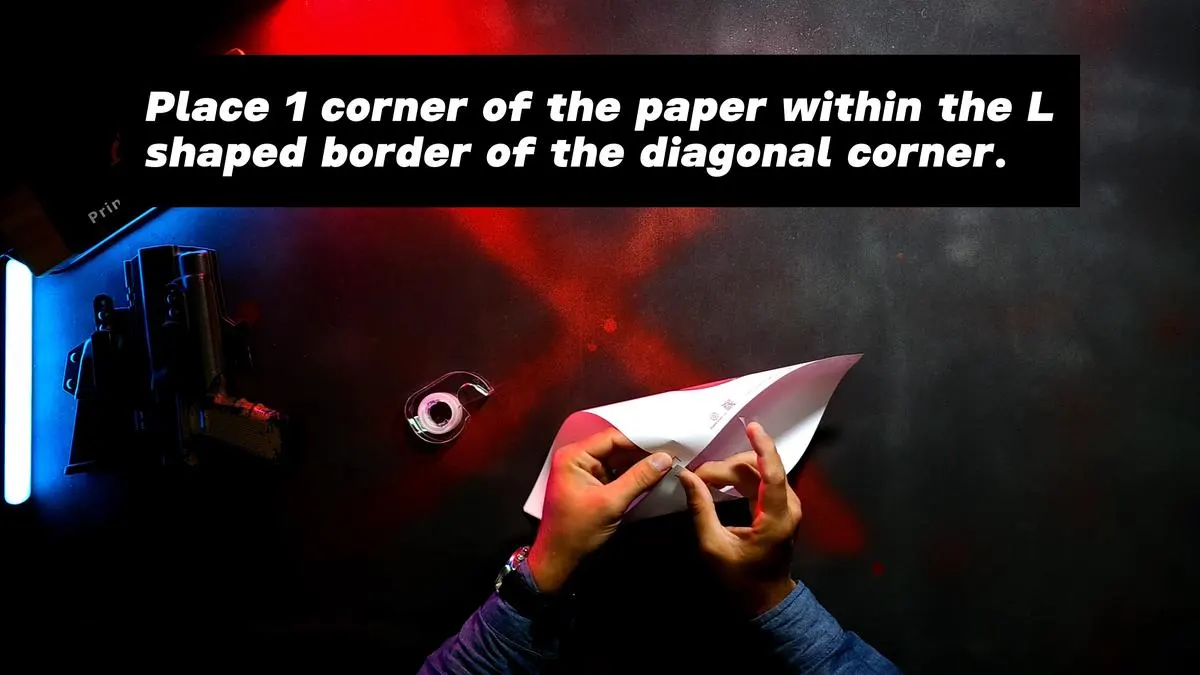
Please flip the page upside down and tape two diagonal corners together. This requires that you place 1 corner of the paper within the L shaped border of the other.

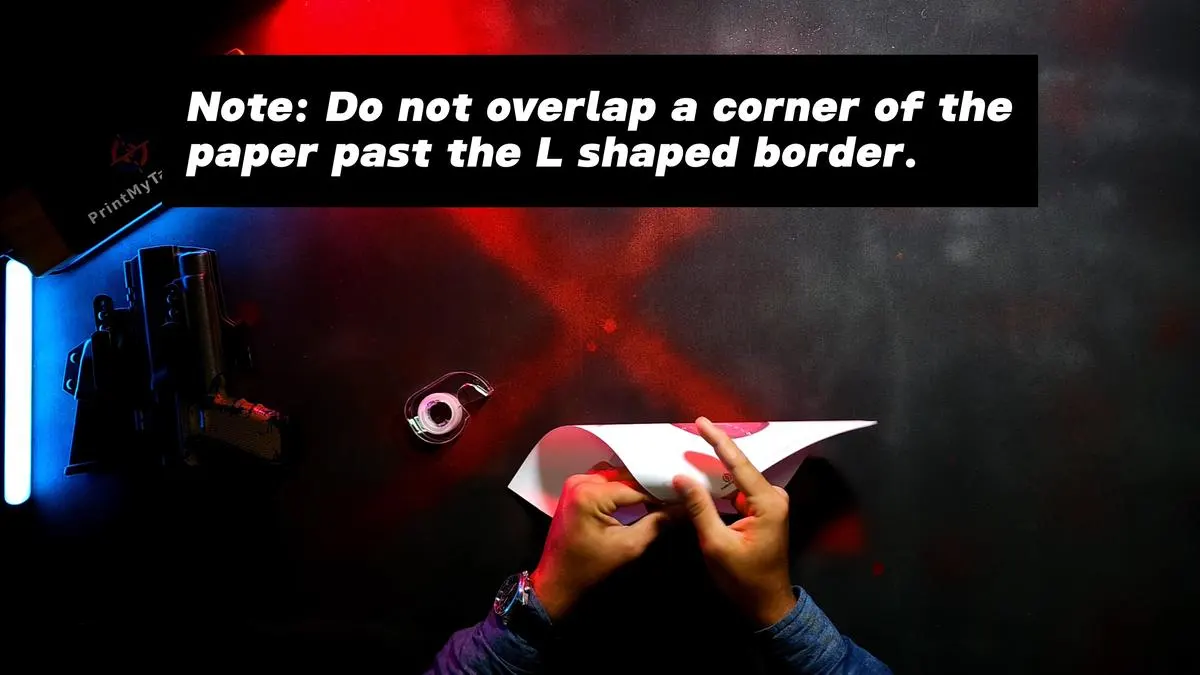
However, do not overlap a corner of the paper past the L shaped border, as this may cause the paper to be too short when folding and taping the other corners in step 2. 
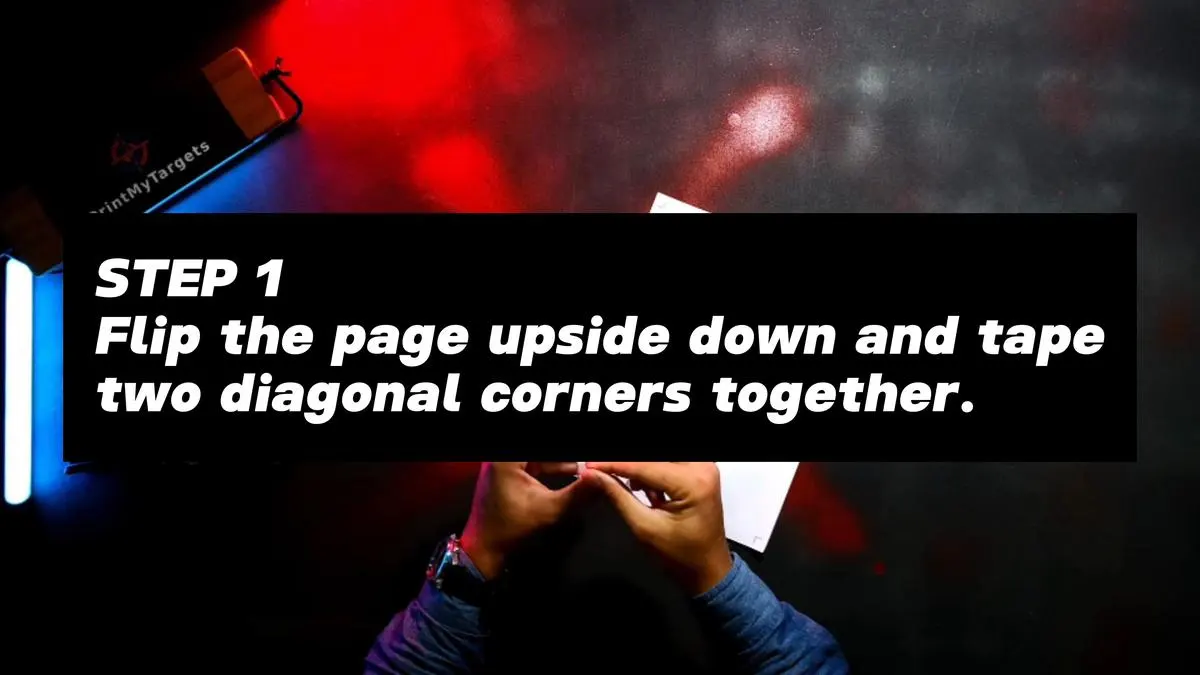
Step 1 - Flip the page upside down and tape the two diagonal corners together.Place 1 corner of the paper within the L shaped border of the diagonal corner.Place 1 corner of the paper within the L shaped border of the diagonal corner.Note: Do not overlap a corner of the paper past the L shaped border.Note: Do not overlap a corner of the paper past the L shaped border.Note: Do not overlap a corner of the paper past the L shaped border.

Step 2

Now, please do the same for the other pair of corners. However, please note that for these two corners you do not need to fully place them within the L shaped border. You can simply have the two corners of the paper touch and then tape them in place.

Note: For extra durability, it’s a great idea to add a second piece of tape to secure the corners even more.  
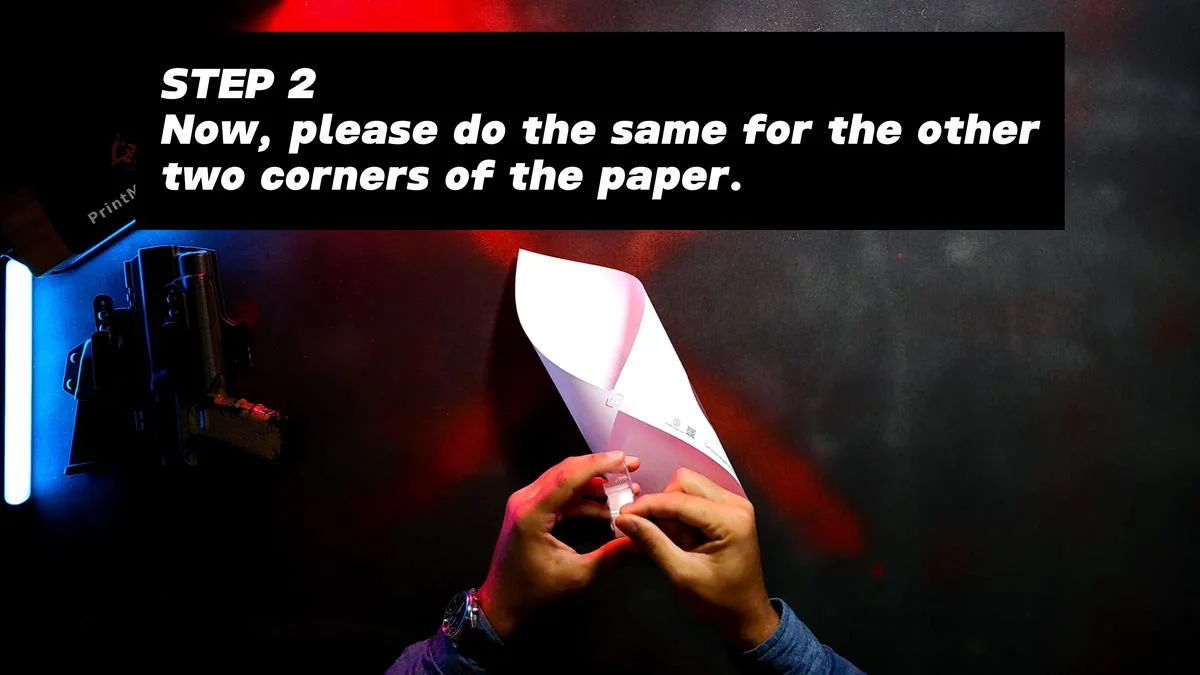
Step 2 - Now, please do the same for the other two corners of the paper.Step 2 - Now, please do the same for the other two corners of the paper.Place 1 L shaped border within the L shaped border of the diagonal piece of paper. Note: for extra durability, it's a great idea to add a second piece of tape to the corners. (optional)

Step 3

Check the target and eliminate any imperfections by pulling on the corners of the target. If everything looks good, you can stop here, or you can continue to STEP 4 (optional). 

Step 3 - Check the target and eliminate any imperfections by pulling on the corners of the target and straightening the edges.If everything looks good, you can finish here. Or you can continue to step 4.

Step 4 (Optional)

Fold on the horizontal dashed line and the left and right edges of the target to hold the target firmly in place.

TIP: To keep the target from blowing away in the wind when shooting outdoors, it is possible to place rocks, pebbles, dirt, or twigs in the open back of the target to weigh it down. However, please ensure you keep a safe distance if doing so.
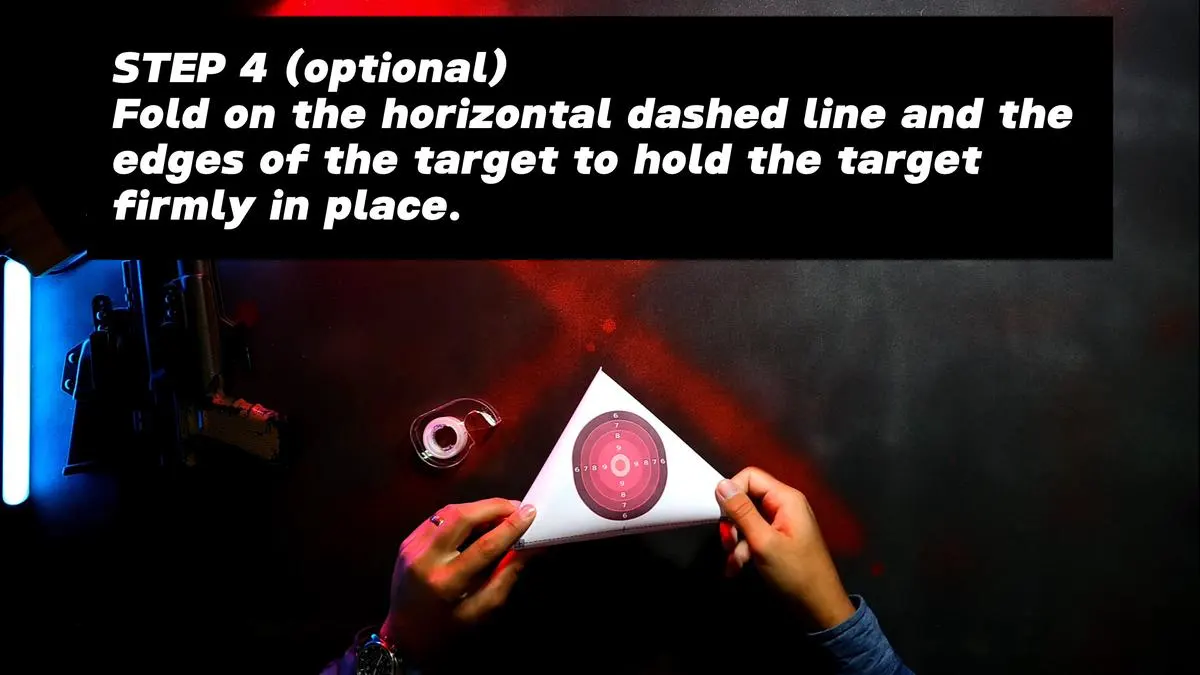
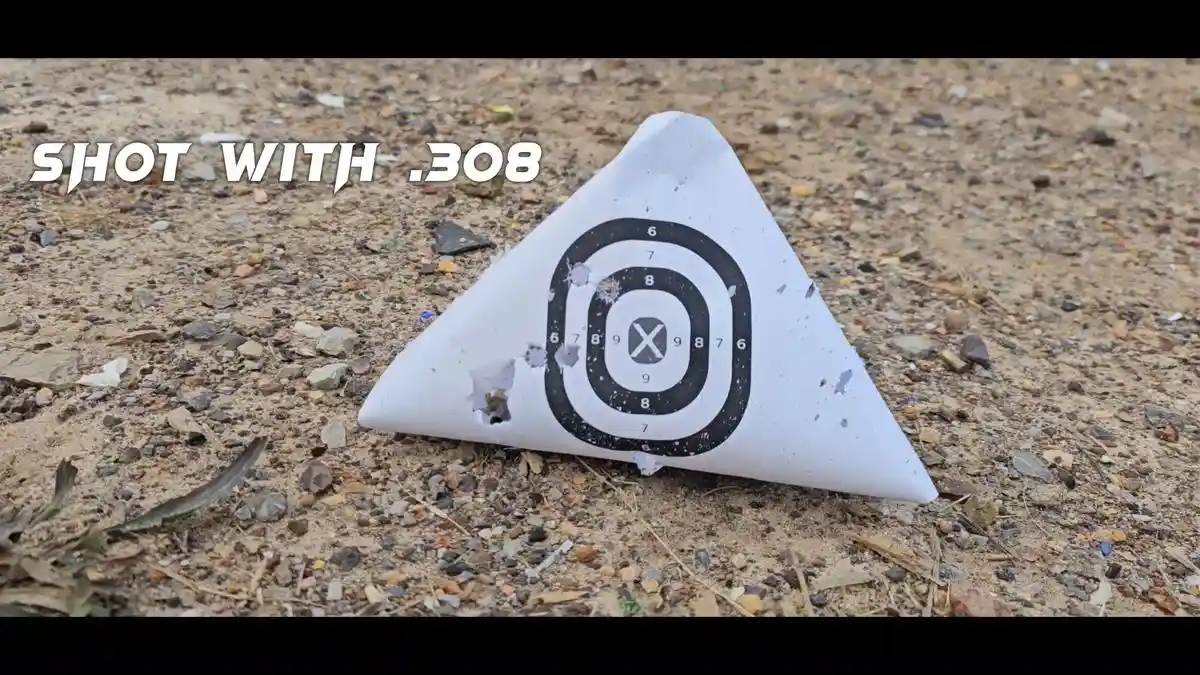
Step 4 (optional) - Fold on the horizontal dashed line and the edges of the target to hold the target firmly in place.Step 4 (optional) - Fold on the horizontal dashed line and the edges of the target to hold the target firmly in place.Step 4 (optional) - Fold on the horizontal dashed line and the edges of the target to hold the target firmly in place.Tip: Place rocks, pebbles, or twigs in the open back of the target to keep it from blowing away in the wind if you are shooting outdoors.Here is an example of the self-standing paper target that has been shot multiple times with a .308 rifle round. Here is an example image of the finished product.

All Done.

Back To Tutorials