Assembly Guide
4 Page Self-Standing Target Tutorial
What you need
- 4-page double-sided self-standing target
- Tape
- 2–5 minutes

Build the flat target
-
01
Lay the 4 pages in order
Use the bottom-right row/page numbers.


-
02
Fold on the red dotted lines
Full length. 4 folds total.


-
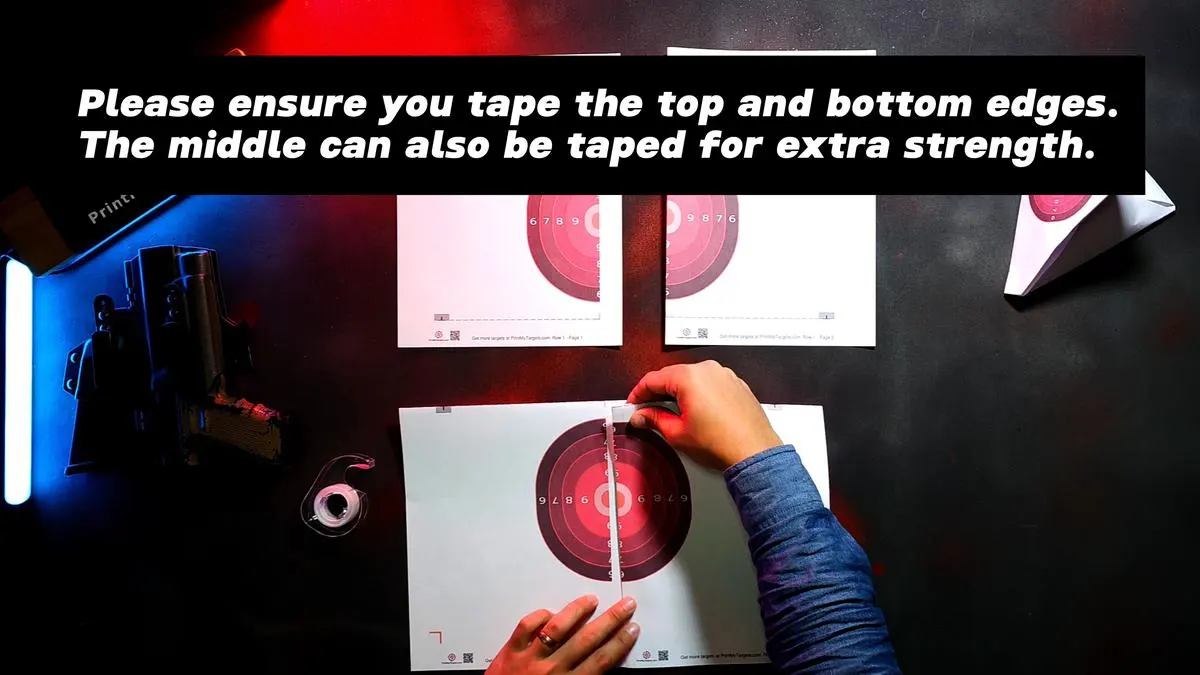
03
Tape the bottom row
Top/bottom edges + middle. Set aside.


-
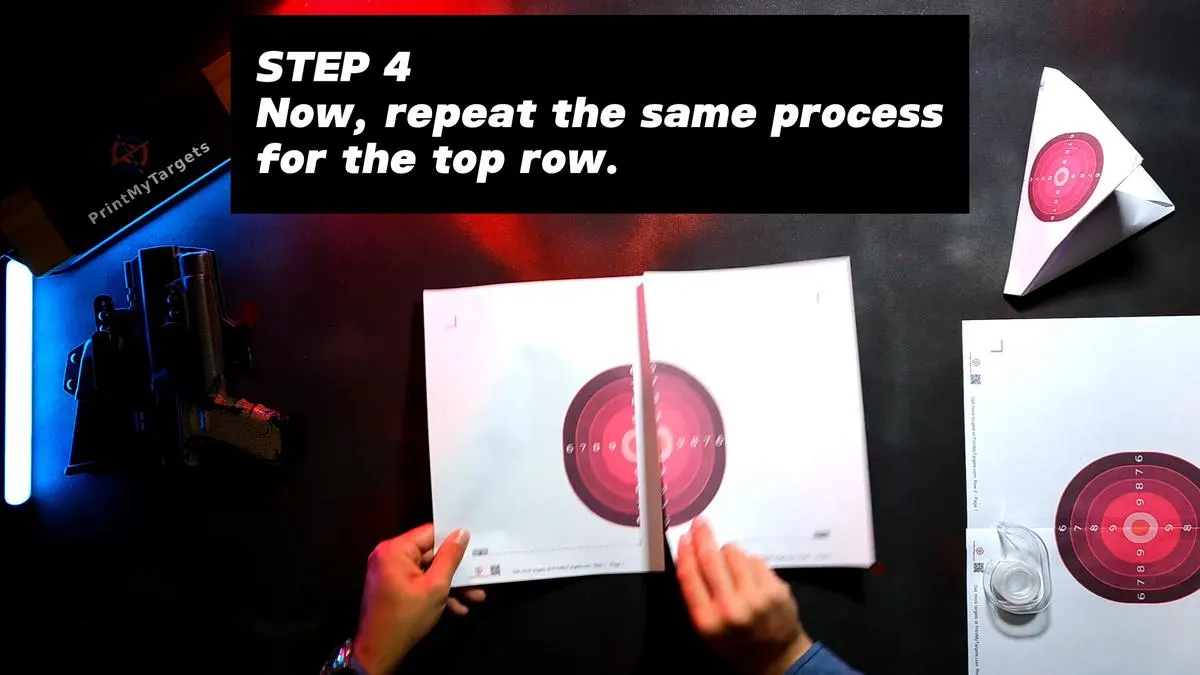
04
Build the top row the same way.

-
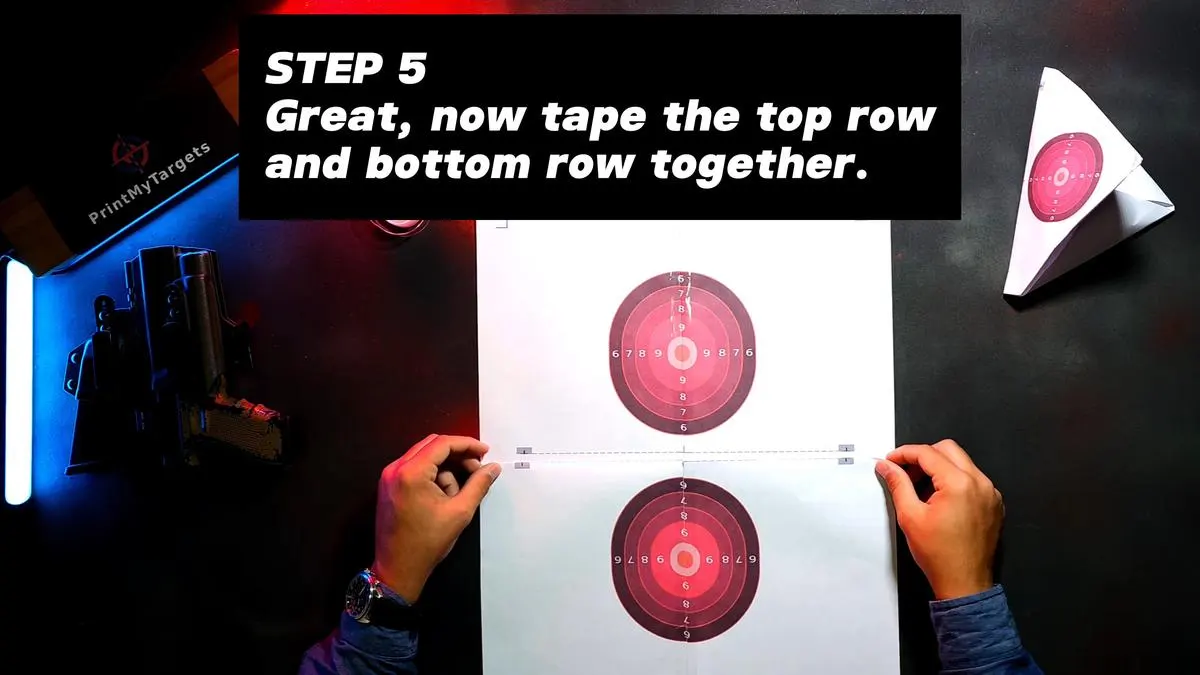
05
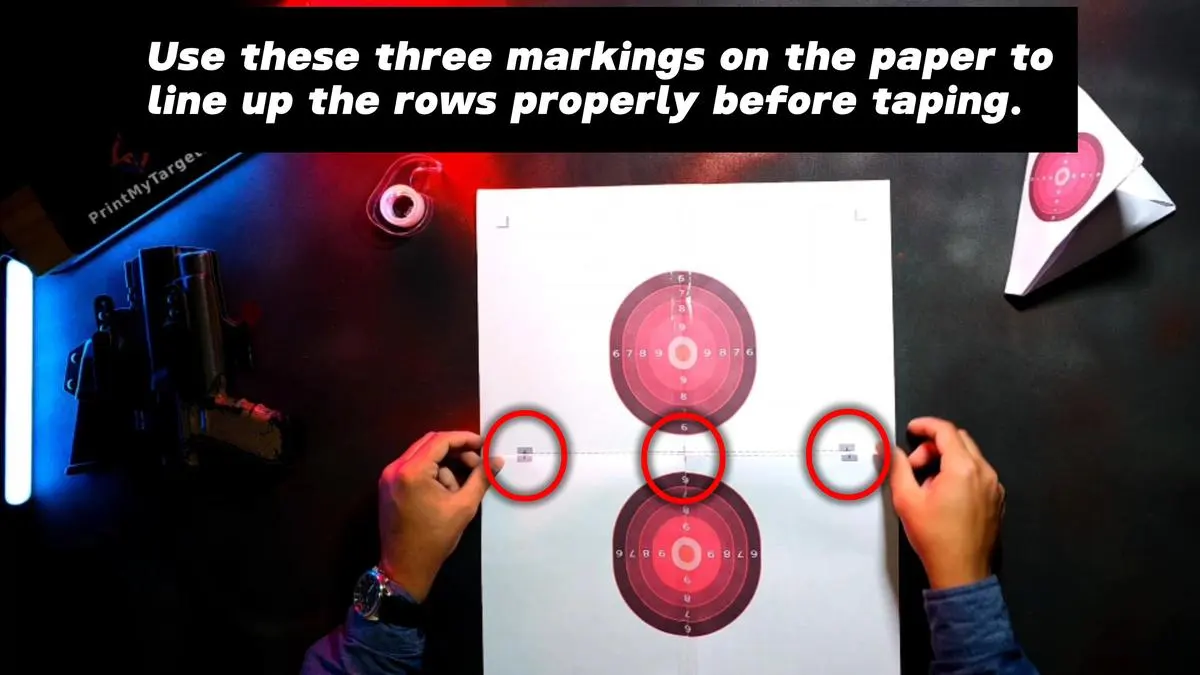
Join the rows
Overlap the bottom row near the base; use the three alignment marks to line it up, then tape the center and both side edges.


-
Make it stand
-
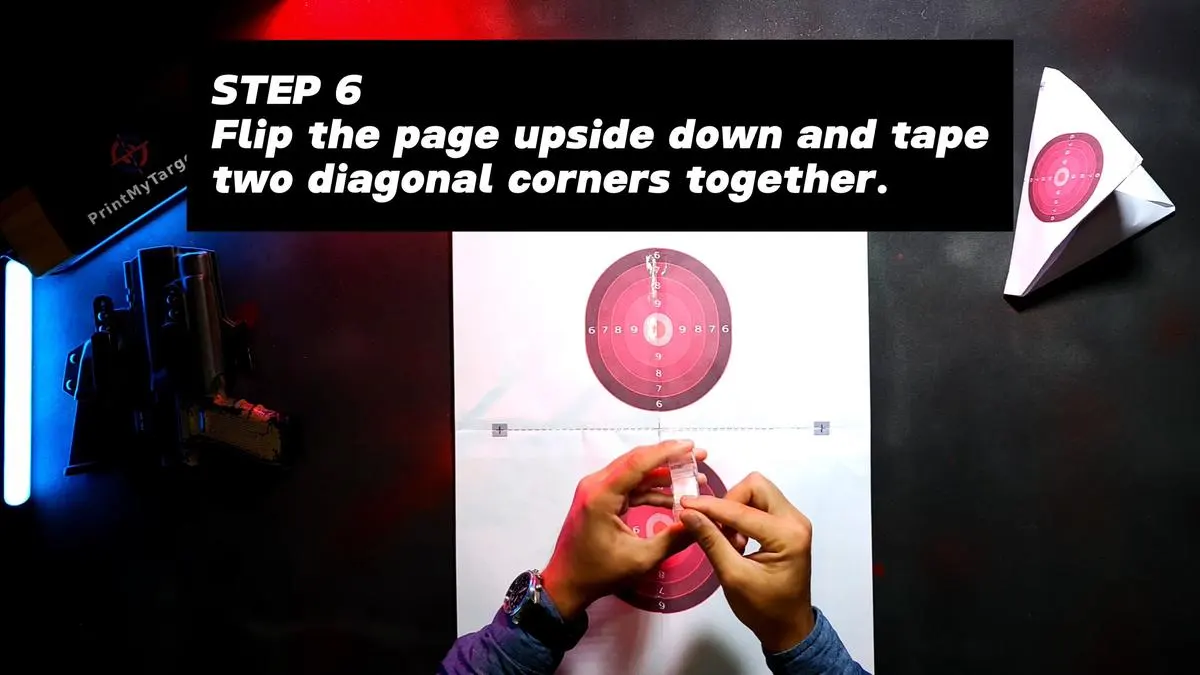
06
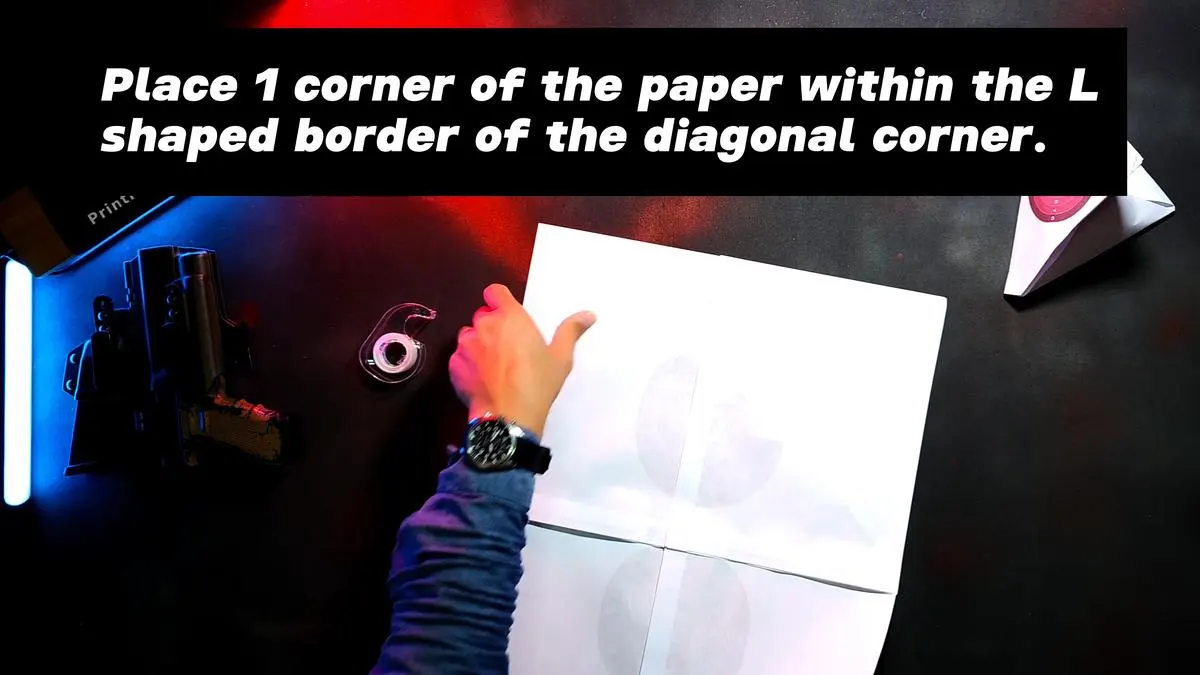
Tape the first diagonal corner pair
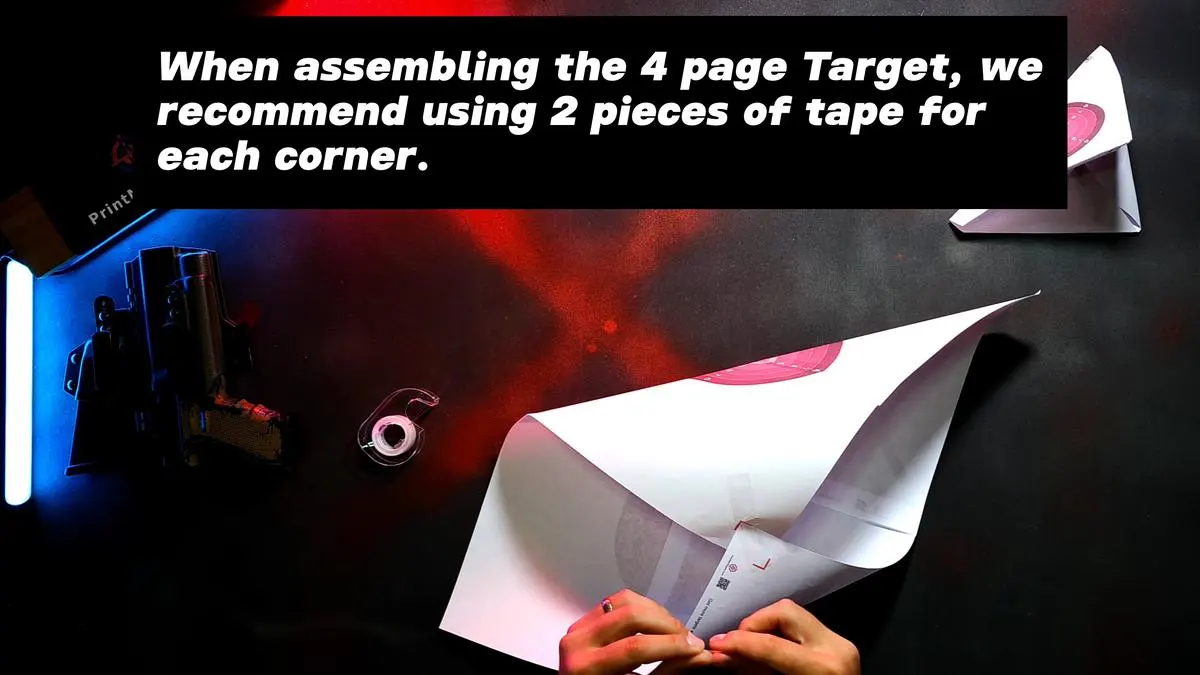
Flip the target face-down. Tuck one corner inside the opposite L-shaped border (2 pieces of tape recommended) — don't overlap past the L or the remaining corners won't meet.


-
07
Tape the second corner pair
Let these two corners touch, then tape. It folds into a freestanding, double-sided pyramid.


-
Finish
-
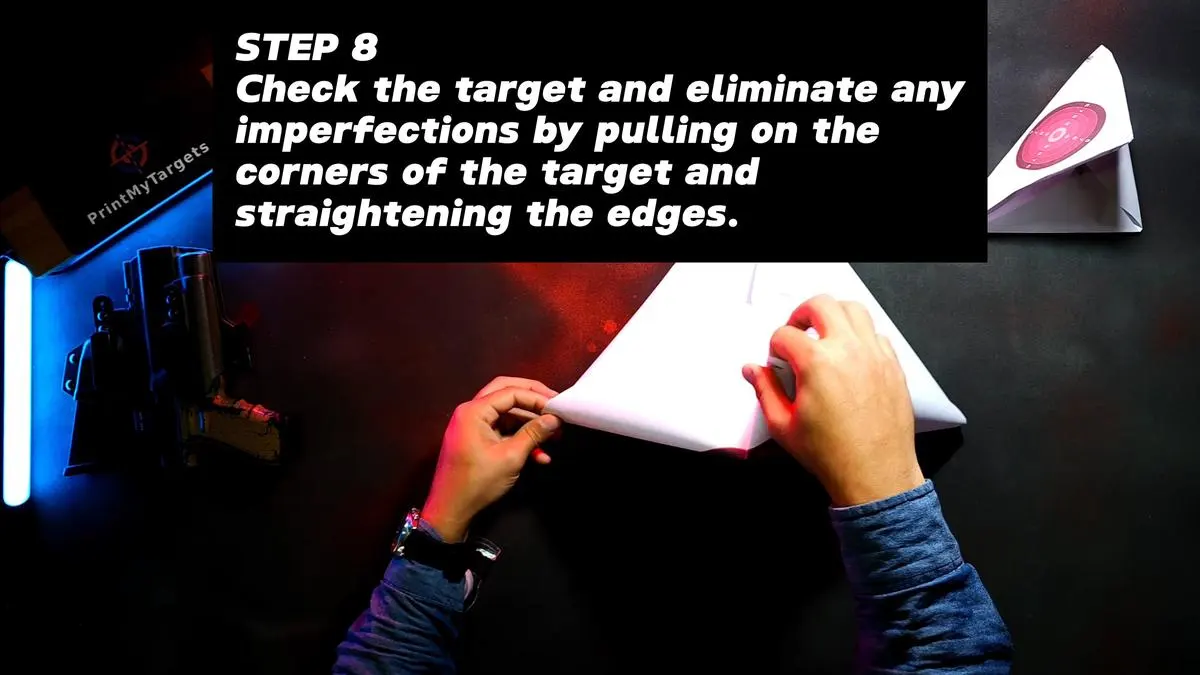
08
Pop out dents
Pull gently on the corners; reach into the open back to push out any creases.


-
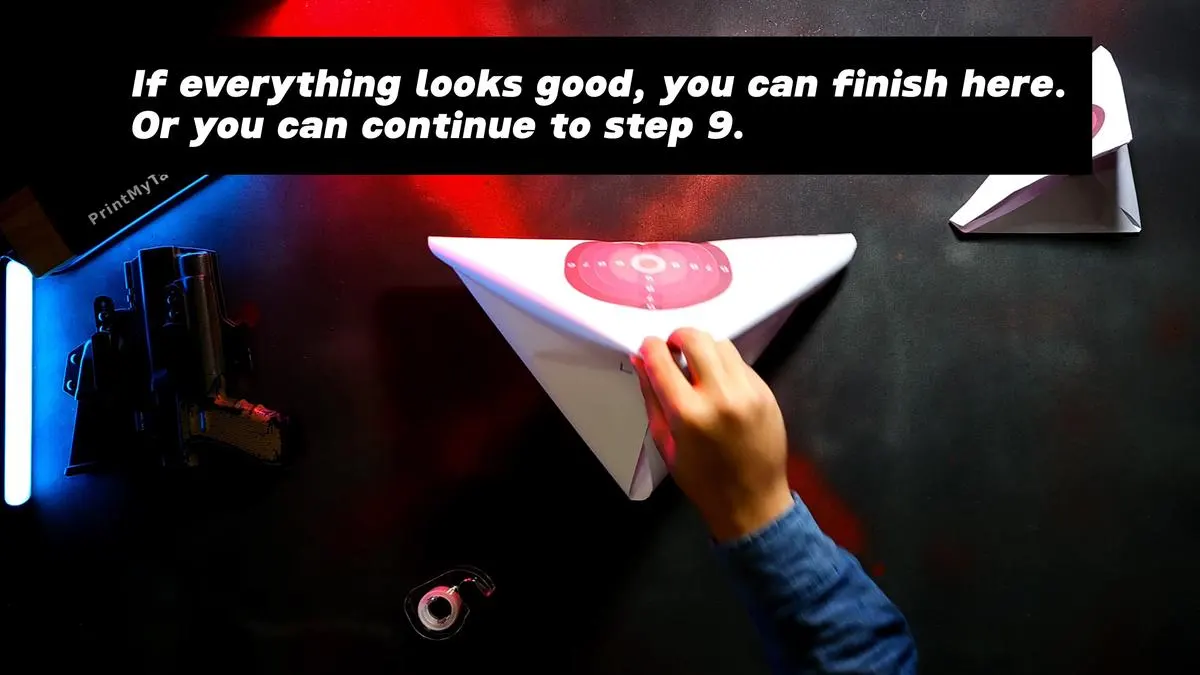
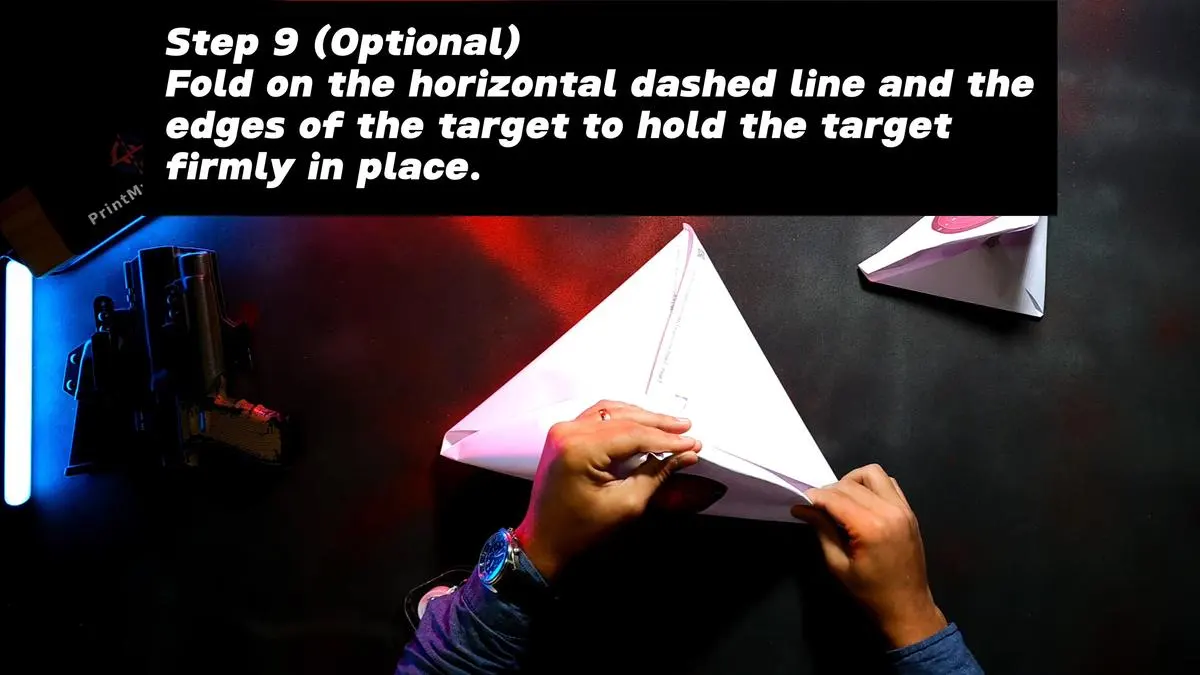
09
Lock it down
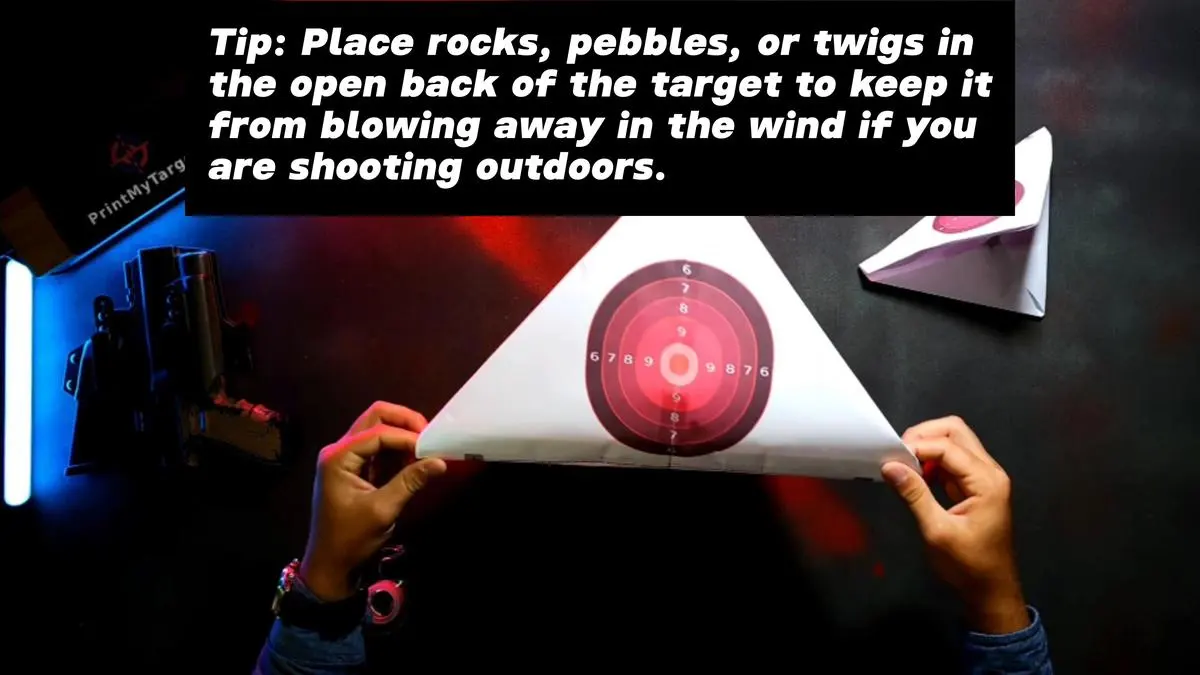
OptionalFold along the horizontal dashed line and side edges so it holds its stance. Outdoor tip: weigh the open back with rocks/pebbles/twigs (keep a safe distance).

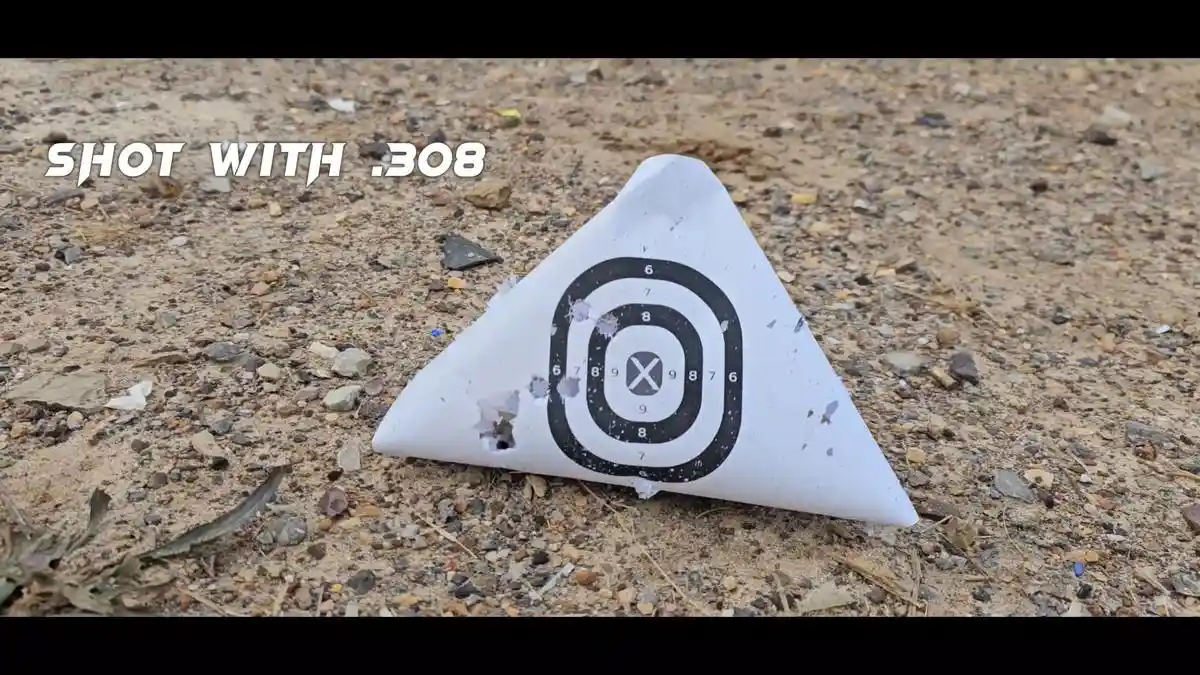

Done — your large self-standing target is built.
← Back to All Tutorials