Assembly Guide
4 Page Target Tutorial
What you need
- 4-page printed target
- Clear tape
- ~1–3 minutes

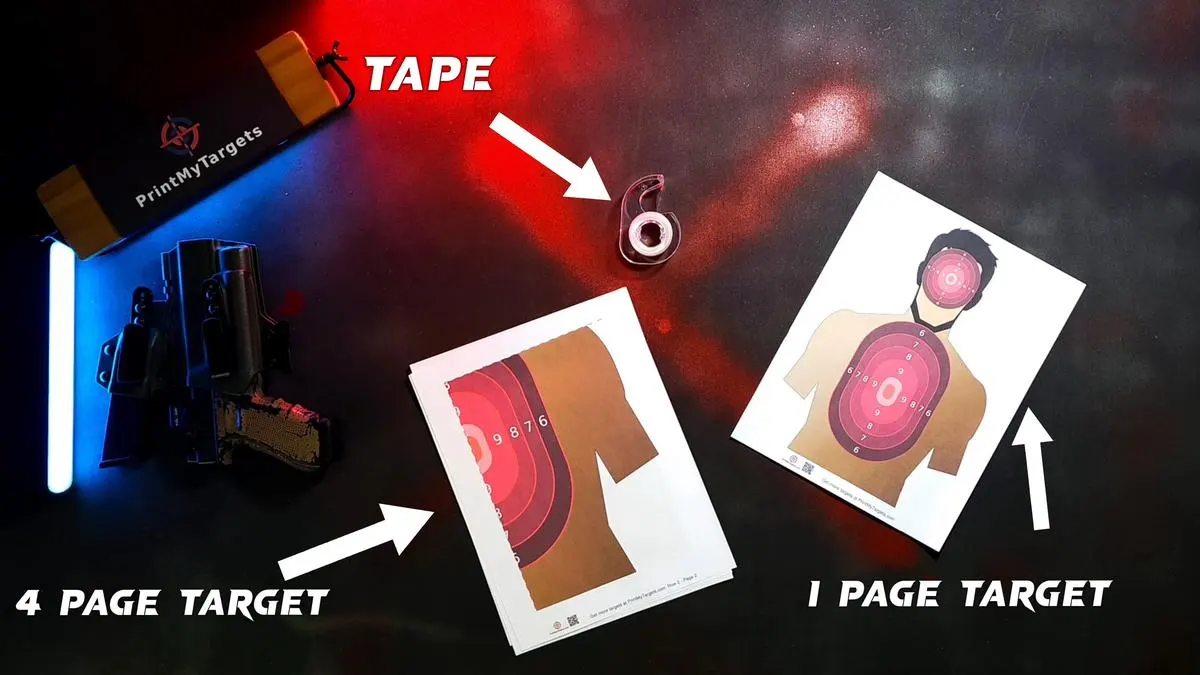
-
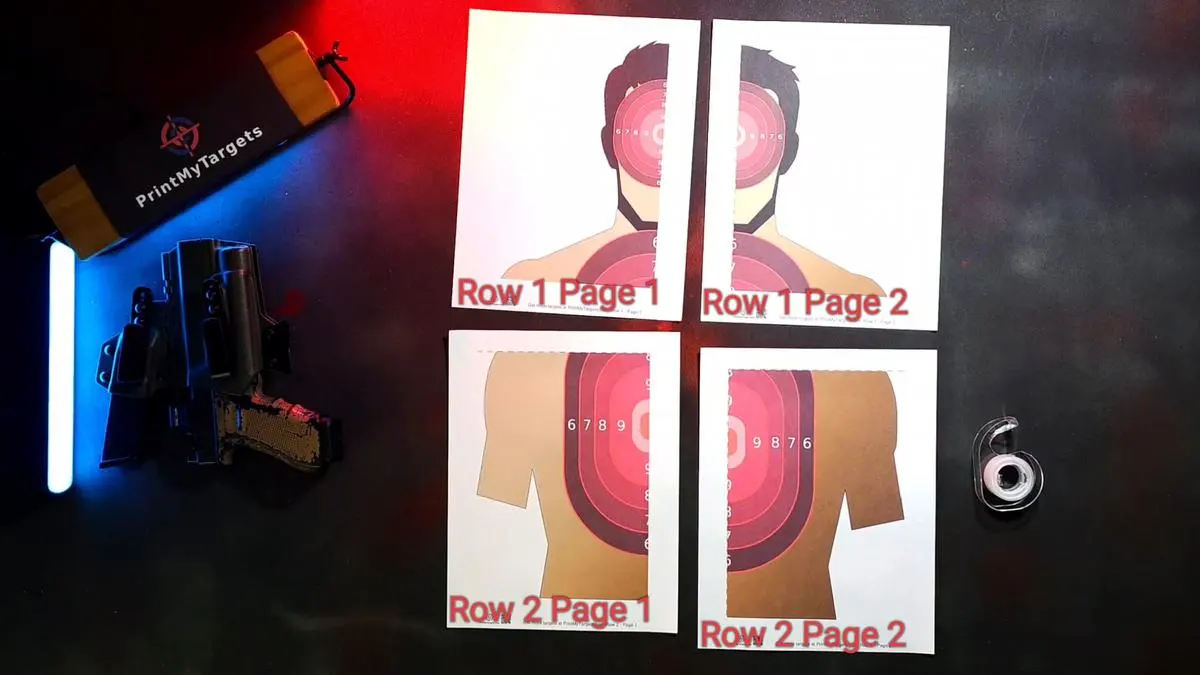
01
Lay the pages out in order
Match each sheet using the row + page number printed in the bottom-right corner.

-
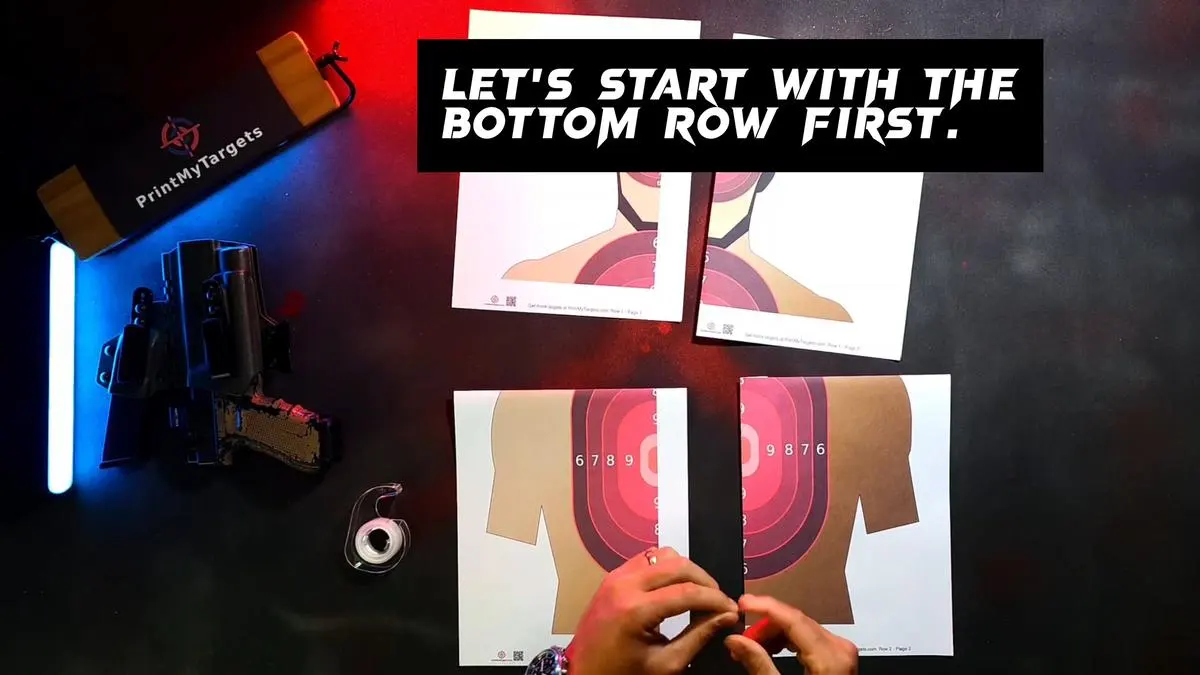
02
Fold along every red dotted line
Fold the FULL length of the sheet, even where the dotted line stops short of the edge. A 4-page target has 4 folds total — start with the bottom row.


-
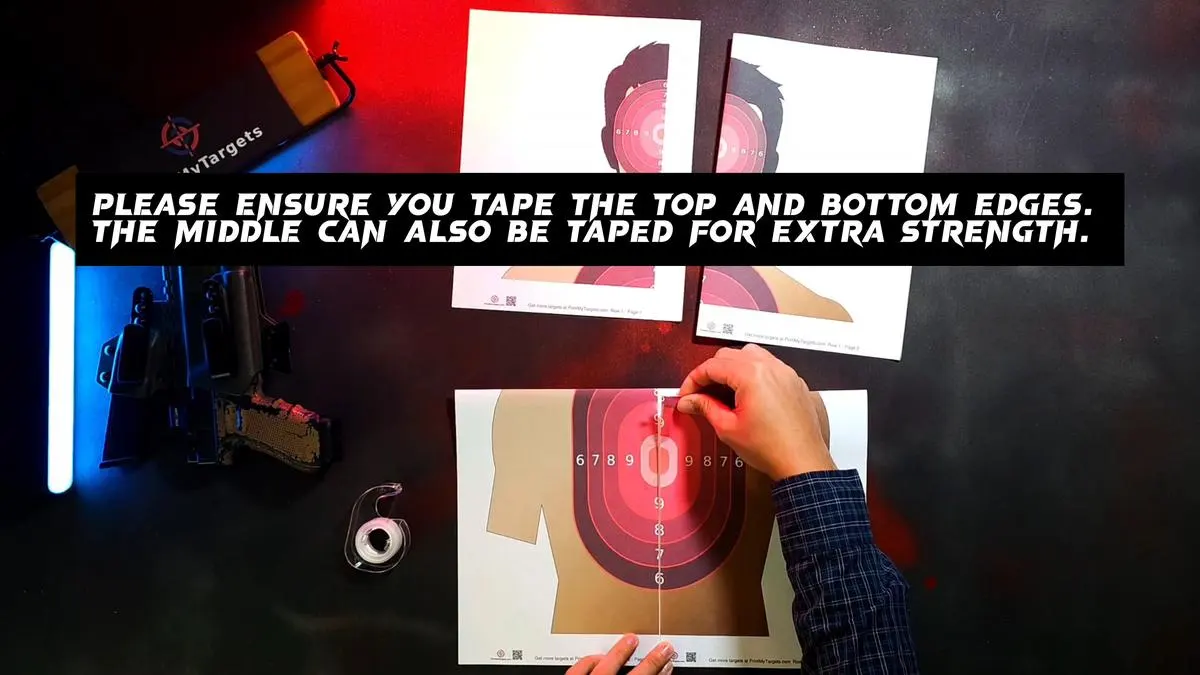
03
Tape the bottom row
Line the pages up and tape the top and bottom edges; add a strip across the middle for strength. Set this row aside.


-
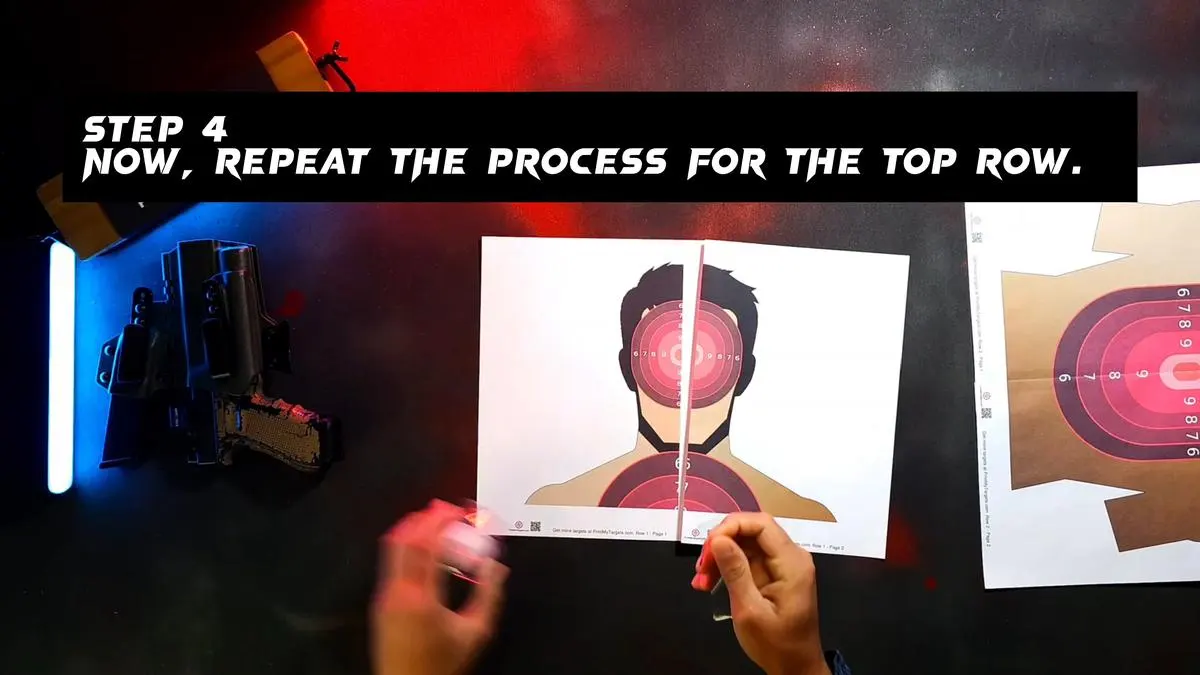
04
Build the top row the same way
Repeat fold + tape for the top row.

-
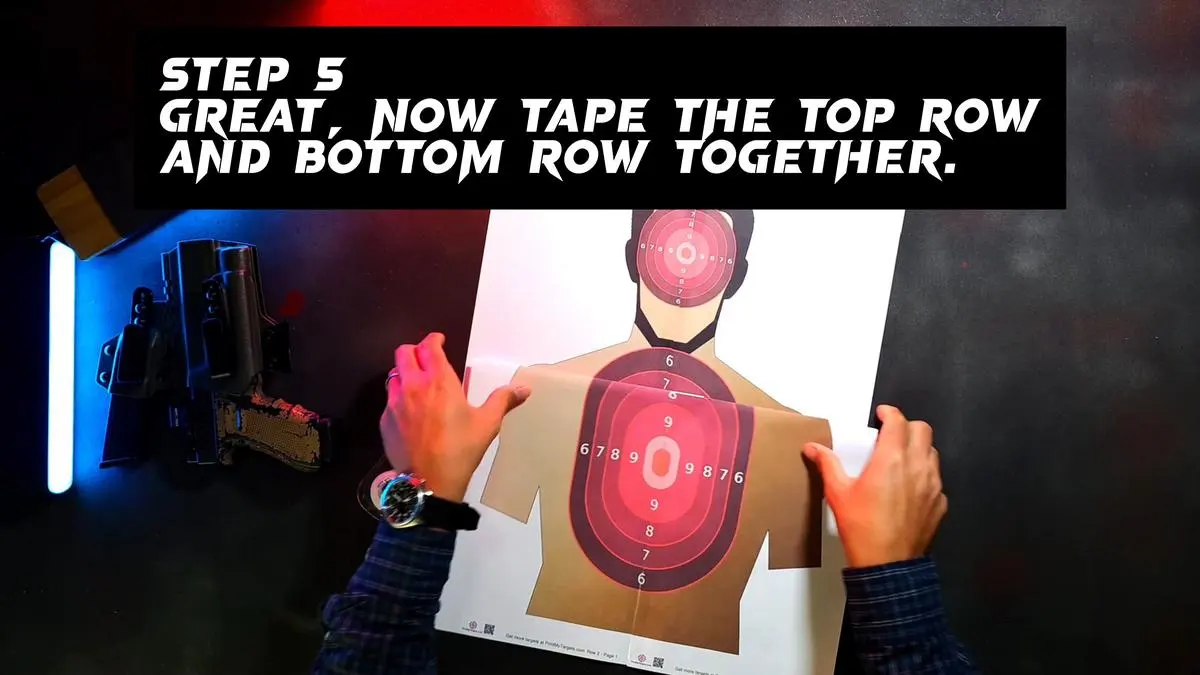
05
Join the two rows
Overlap the bottom row onto the top row near its base, then tape the center and both side edges.


-
06
Reinforce the back Optional
Add a few strips of duct tape to the backside for extra durability.

Done — you've built your 4-page target.
← Back to All Tutorials