Assembly Guide
9 Page Target Tutorial
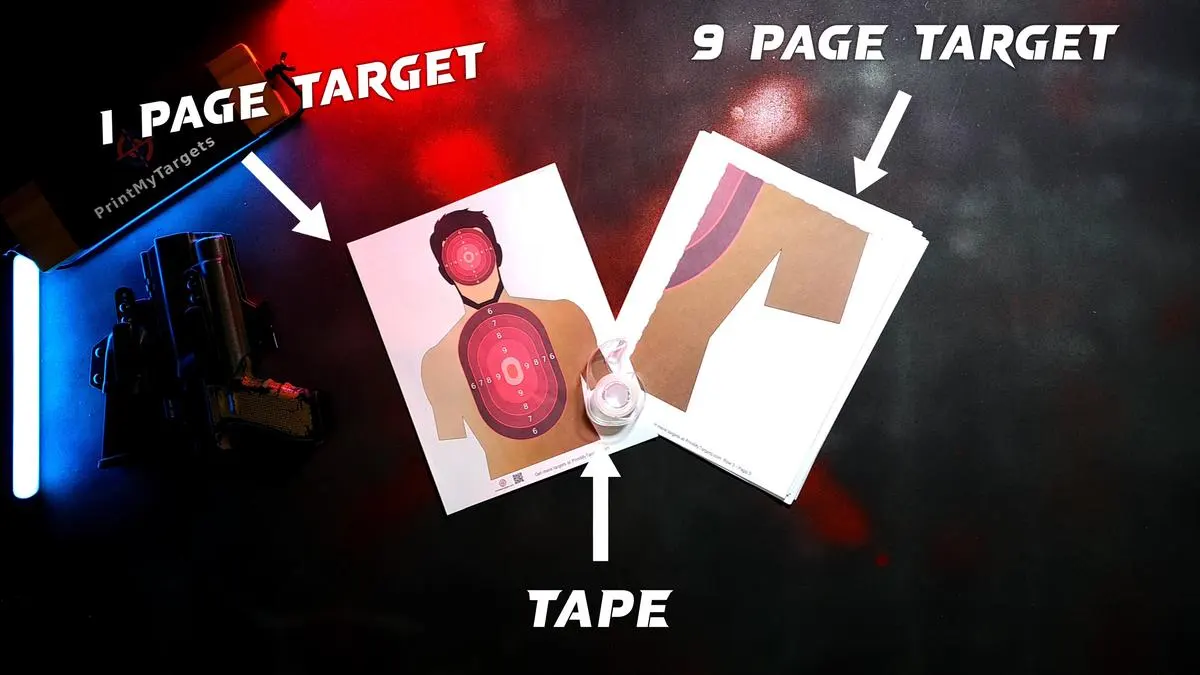
What you need
- 9-page printed target
- Clear tape
- ~4–10 minutes

-
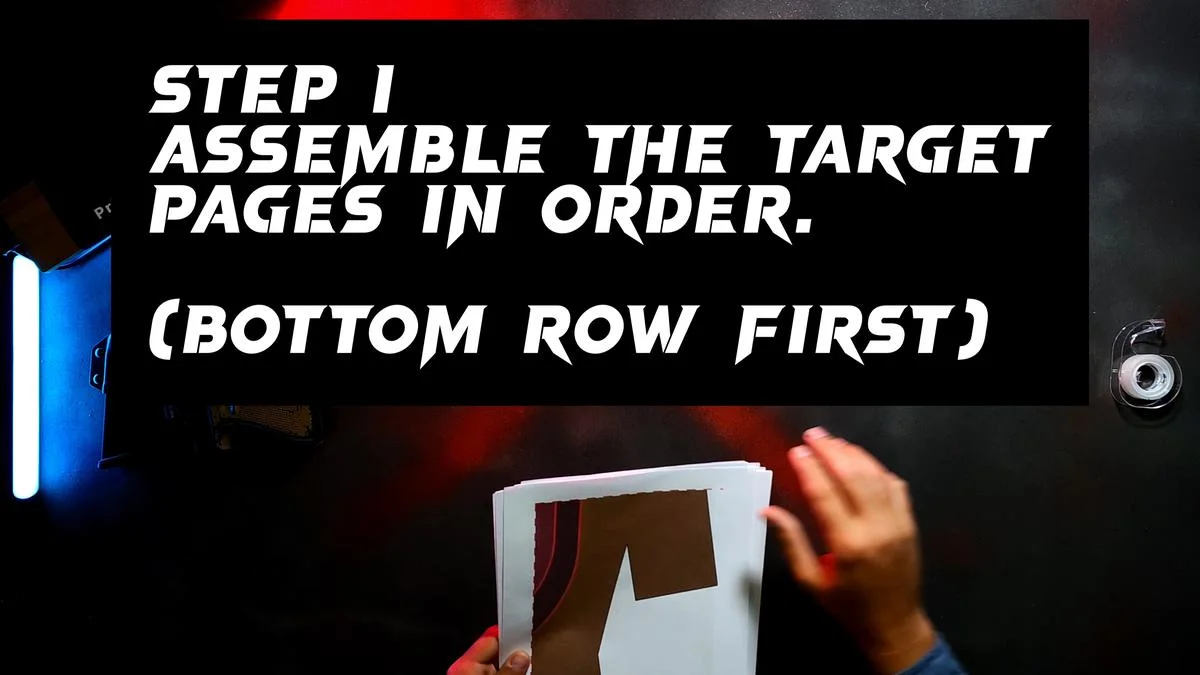
01
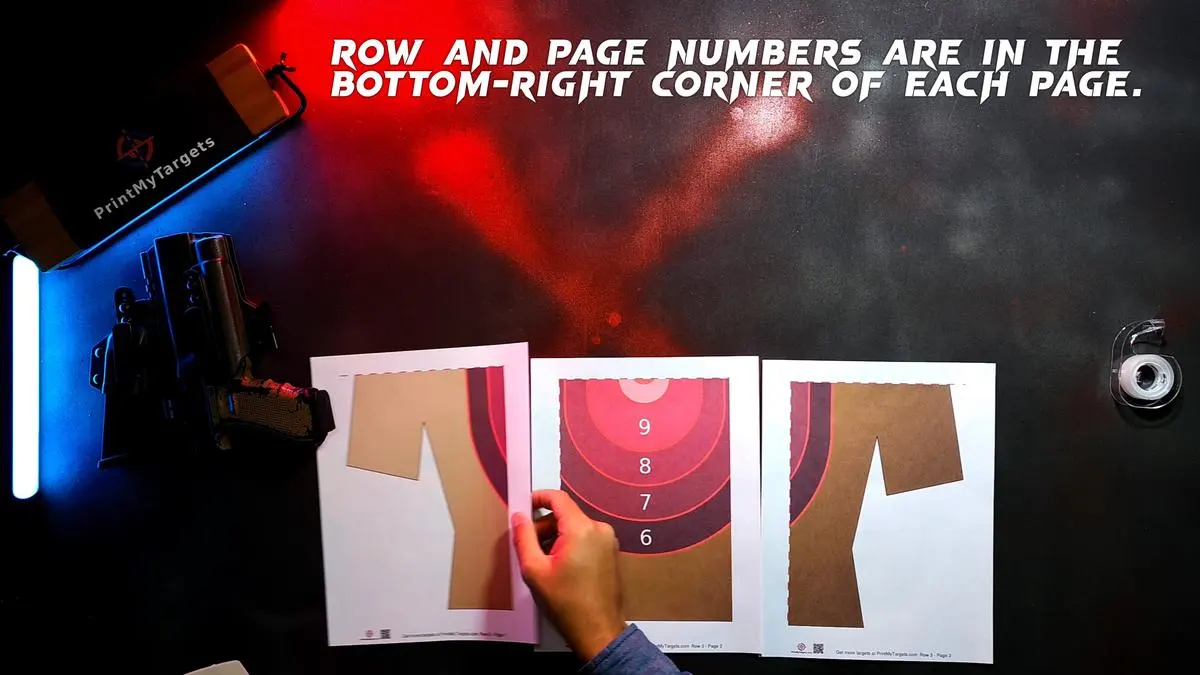
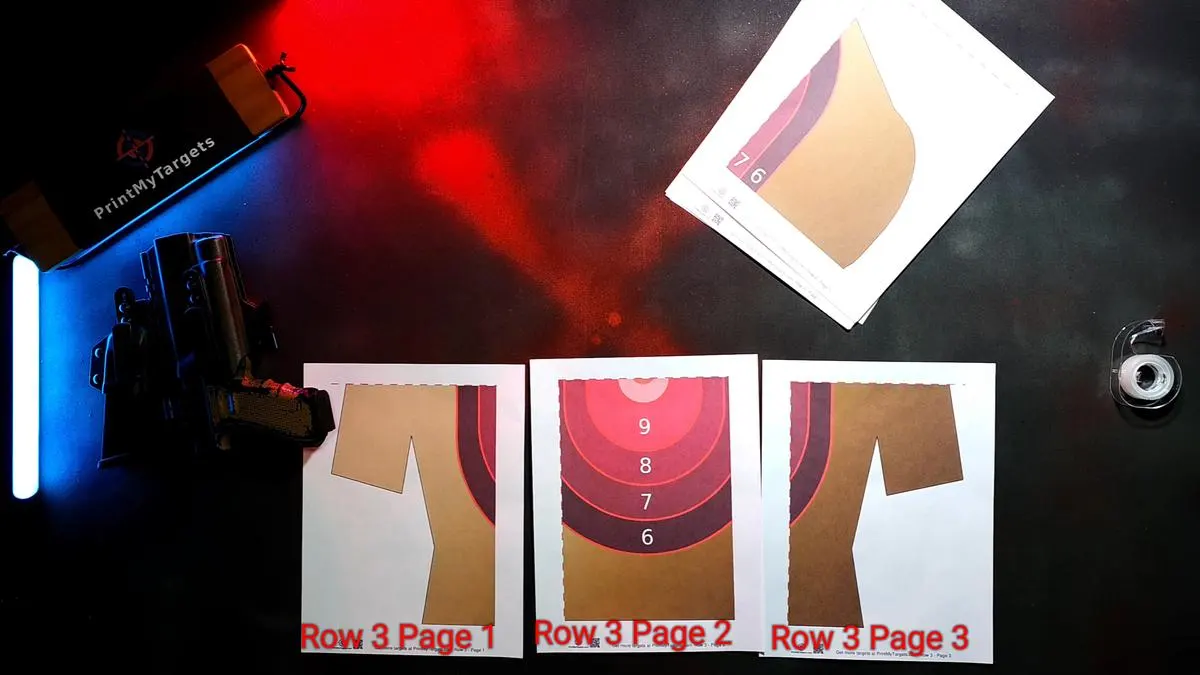
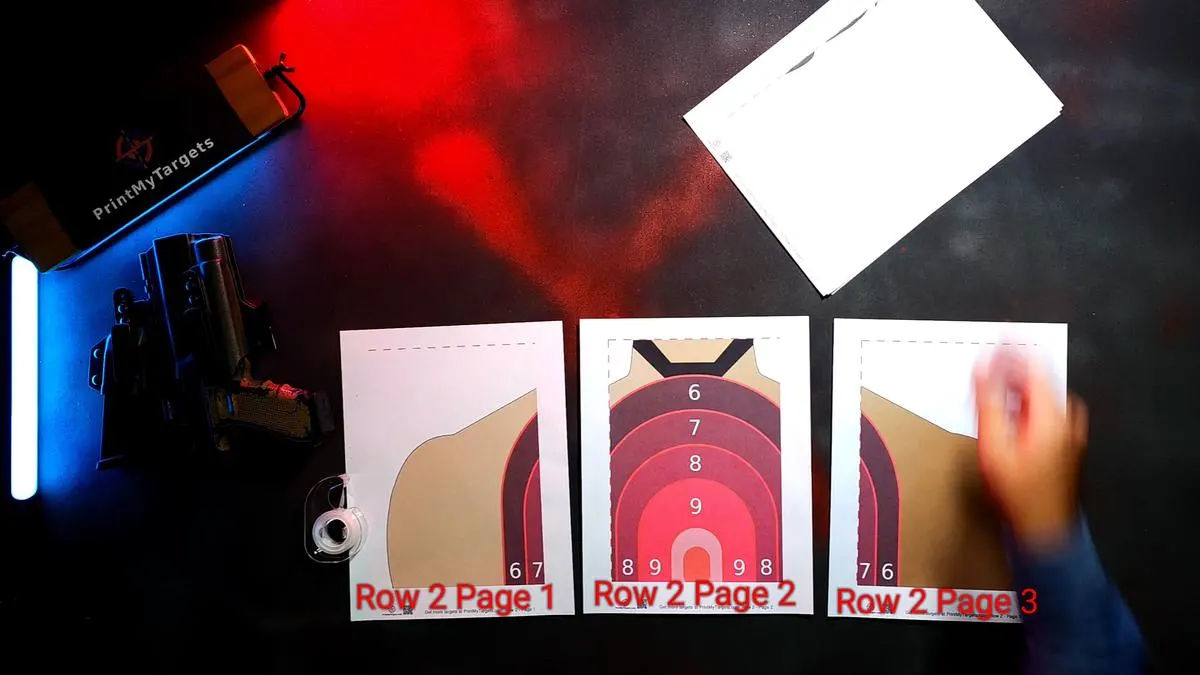
Sort the 9 pages into 3 rows
Use the row + page number in each bottom-right corner. Start with the bottom row.
-
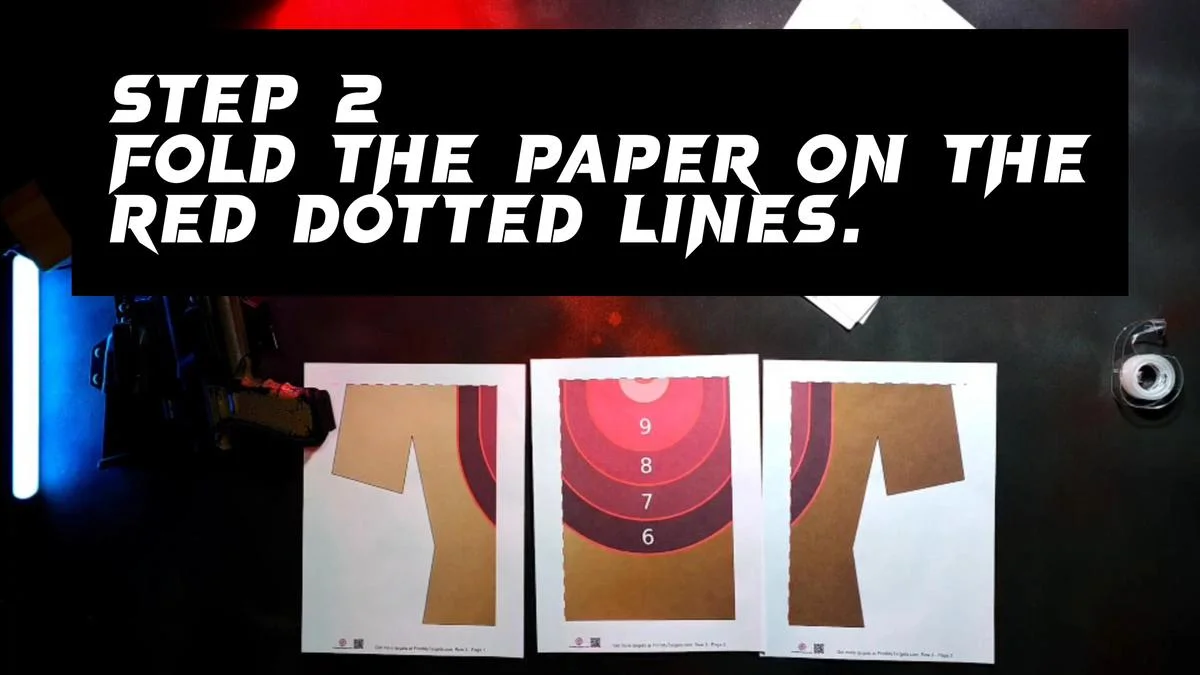
02
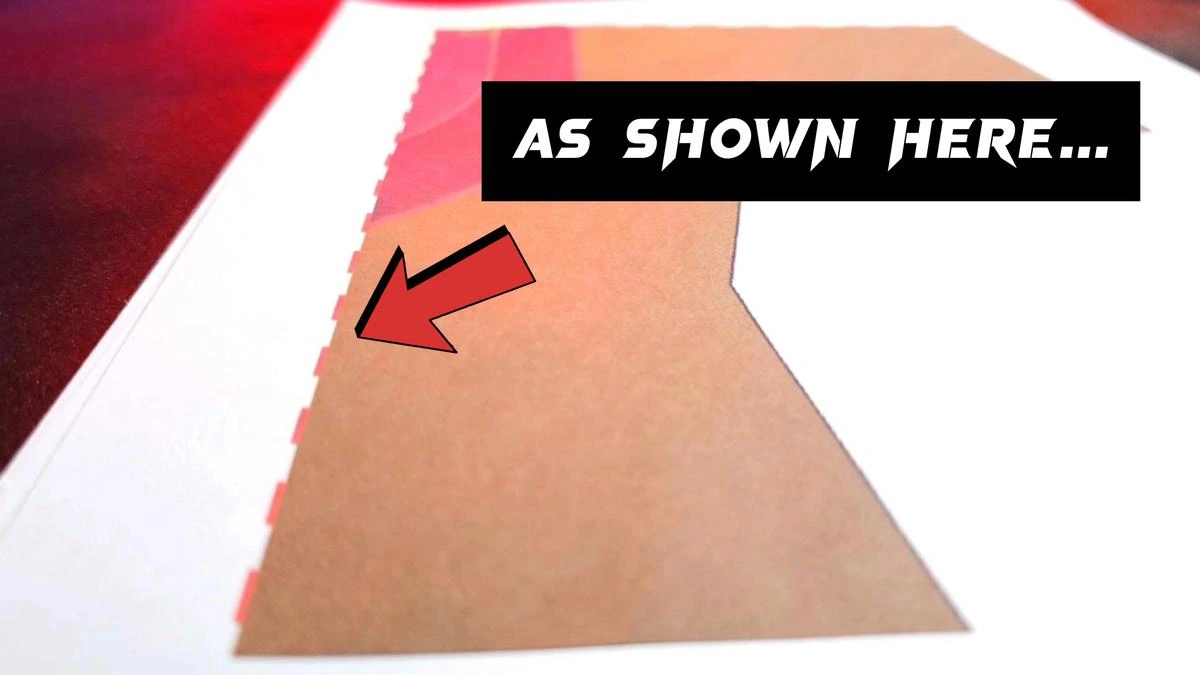
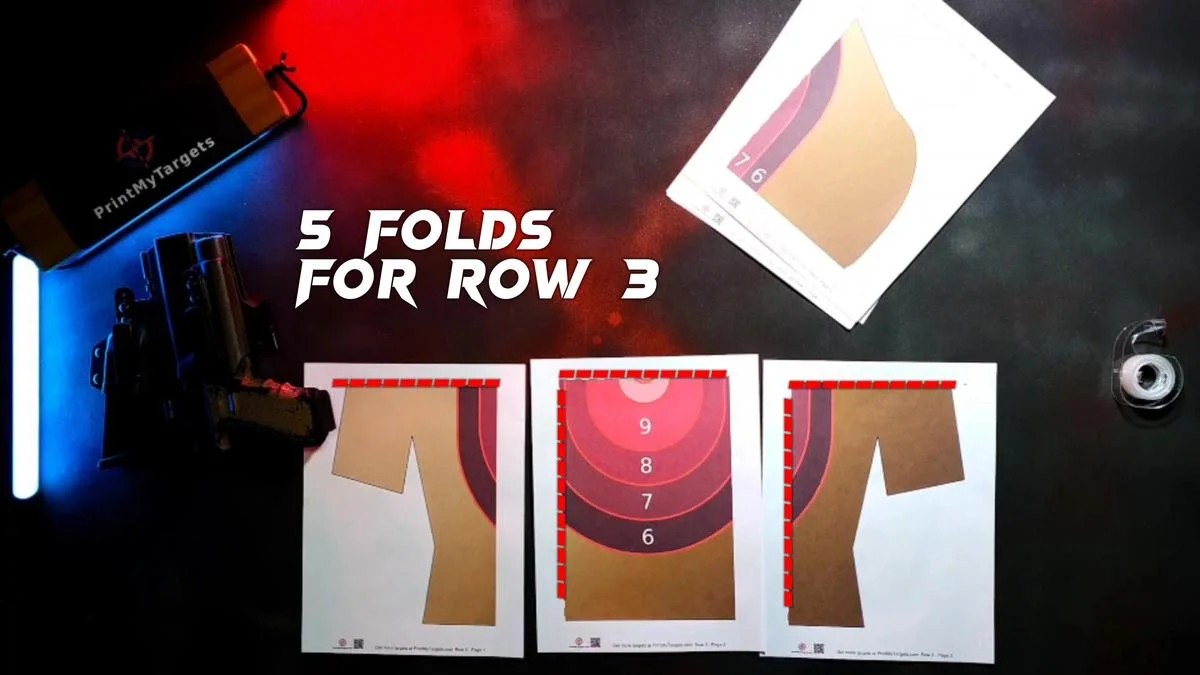
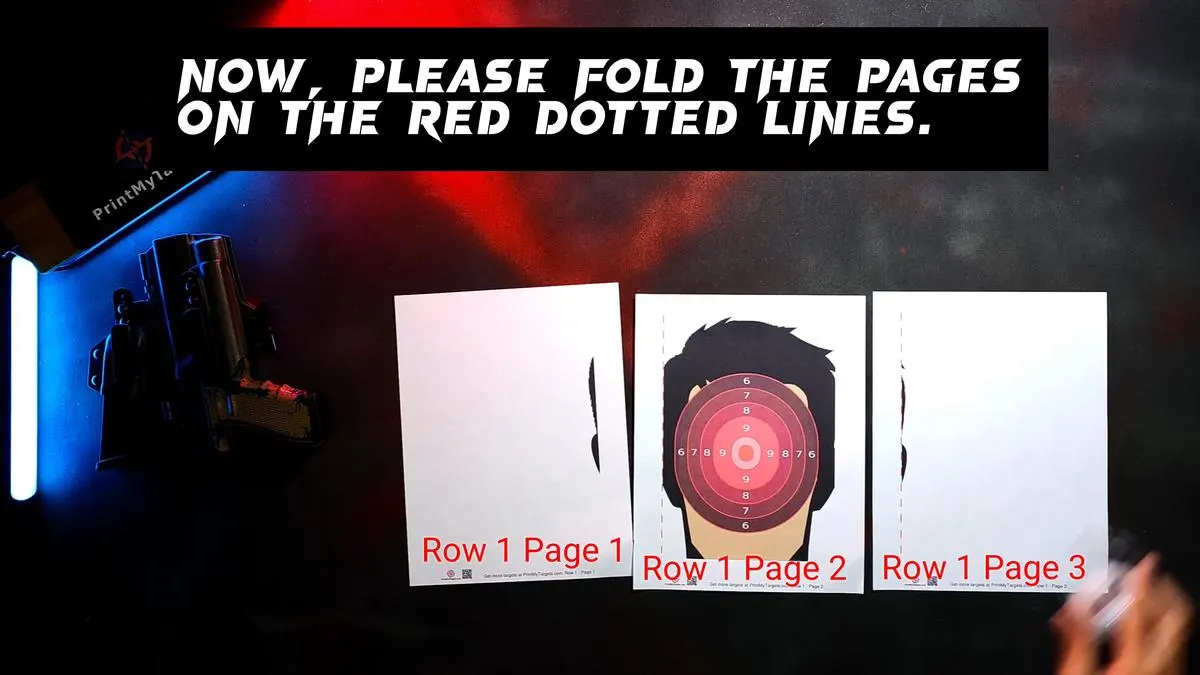
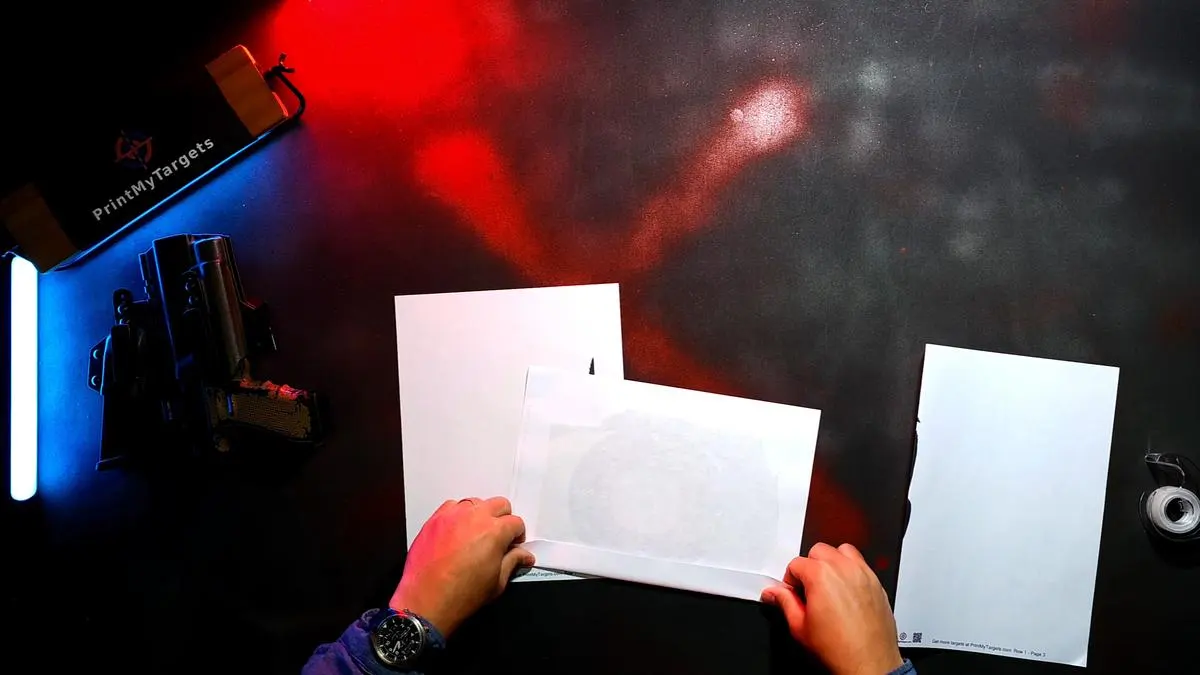
Fold on the red dotted lines
Fold the full length of each sheet. Folds per row: Row 3 = 5, Row 2 = 5, Row 1 (top) = 2.
-
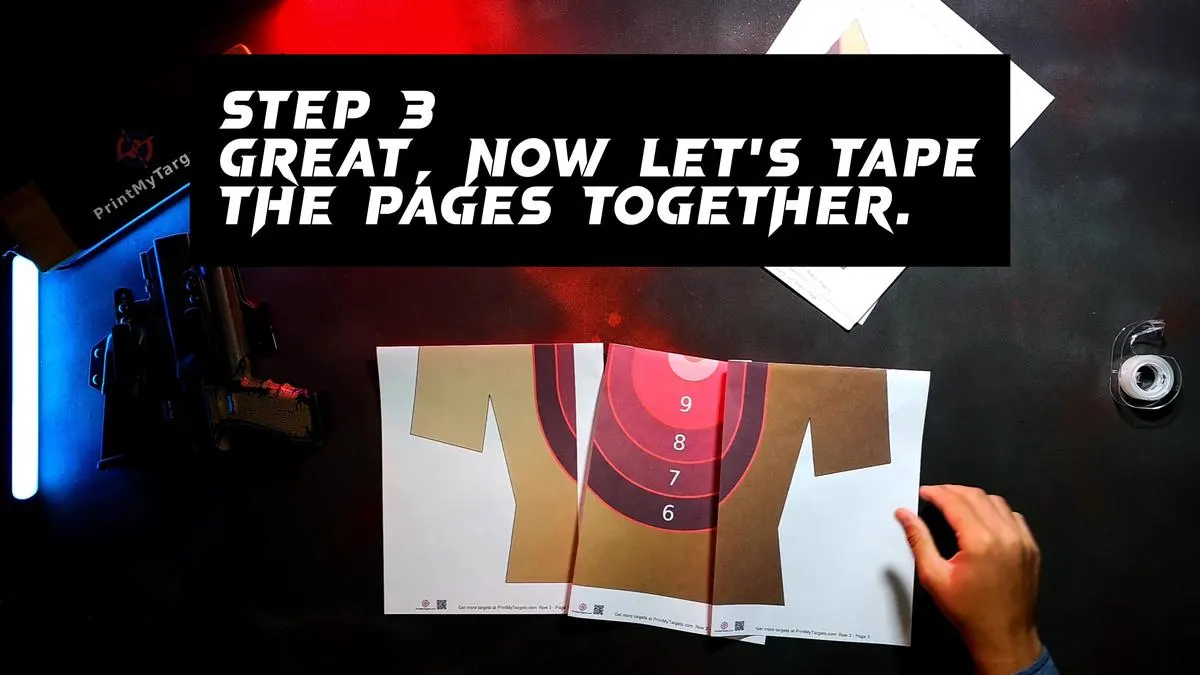
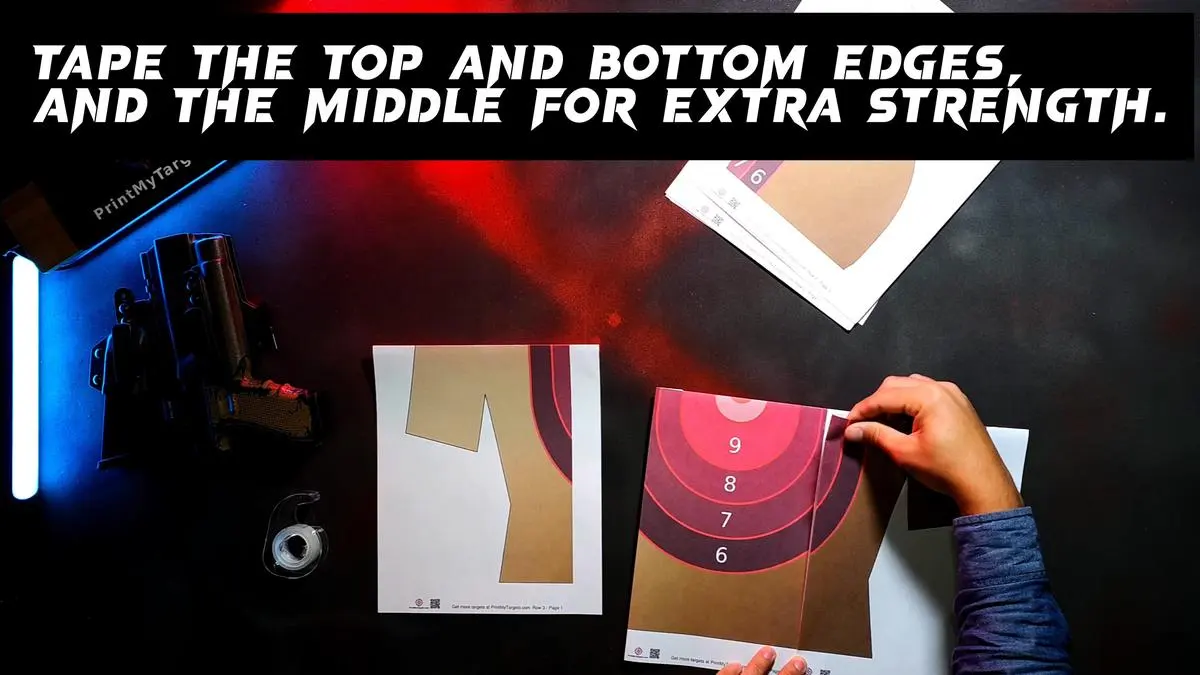
03
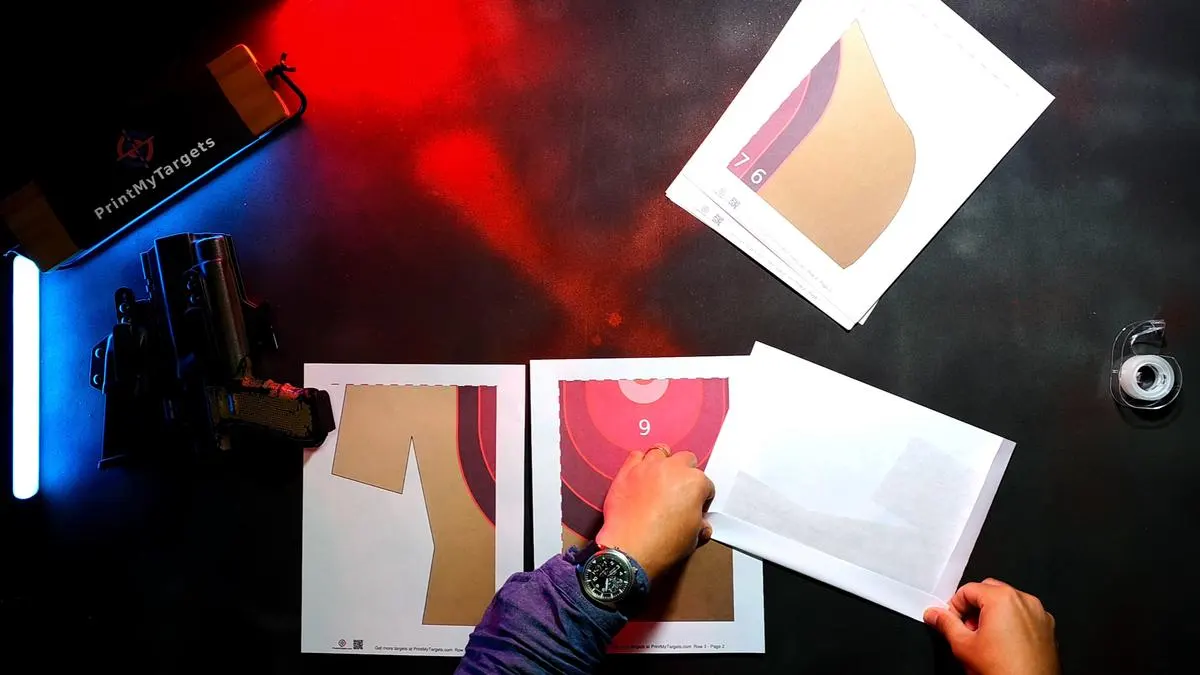
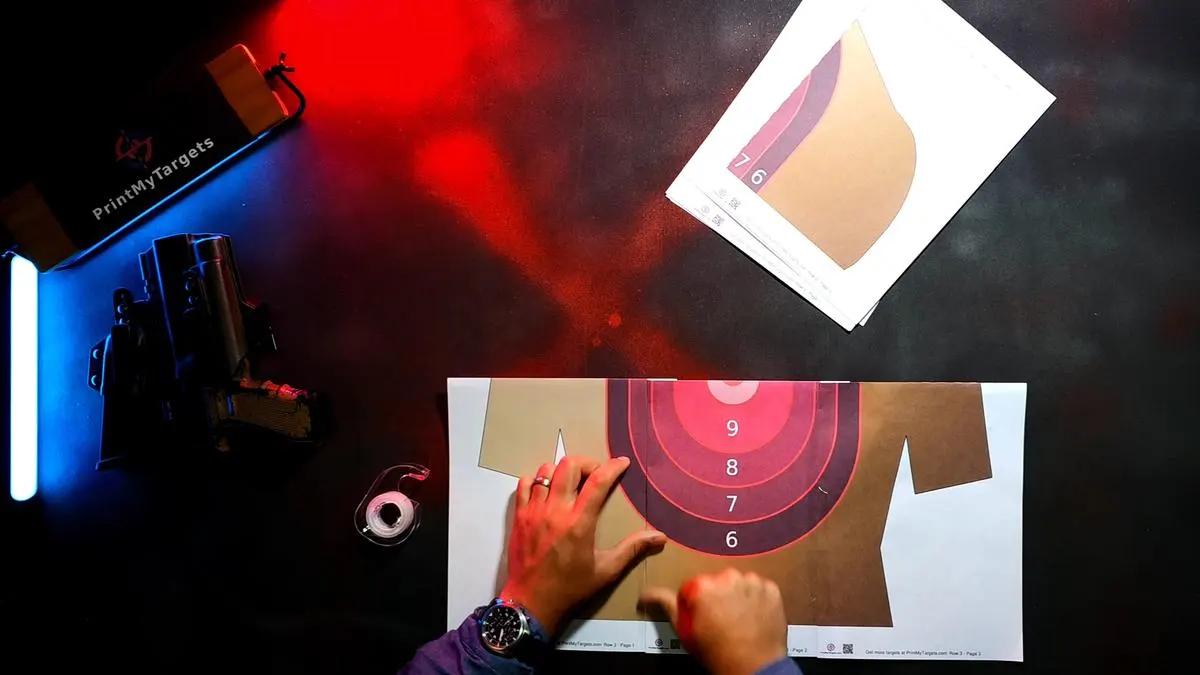
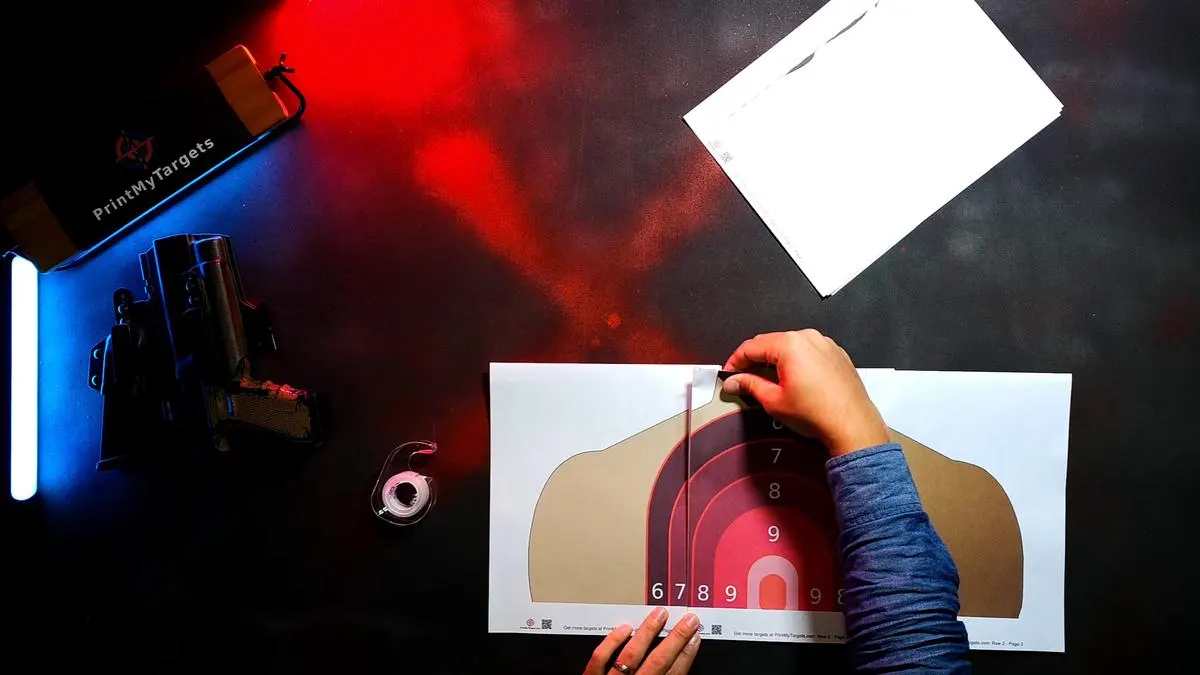
Tape the bottom row
Tape the top/bottom edges plus the middle, then set the row aside.

-
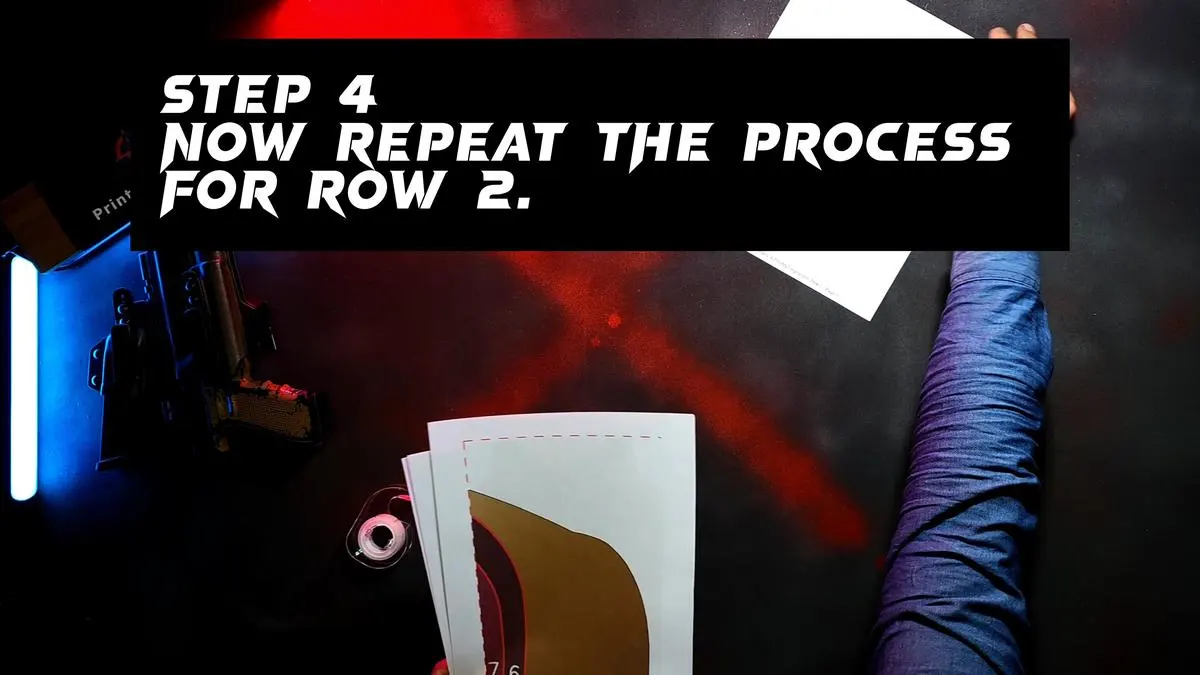
04
Build Row 2
Repeat fold + tape for the middle row; set aside.


-
05
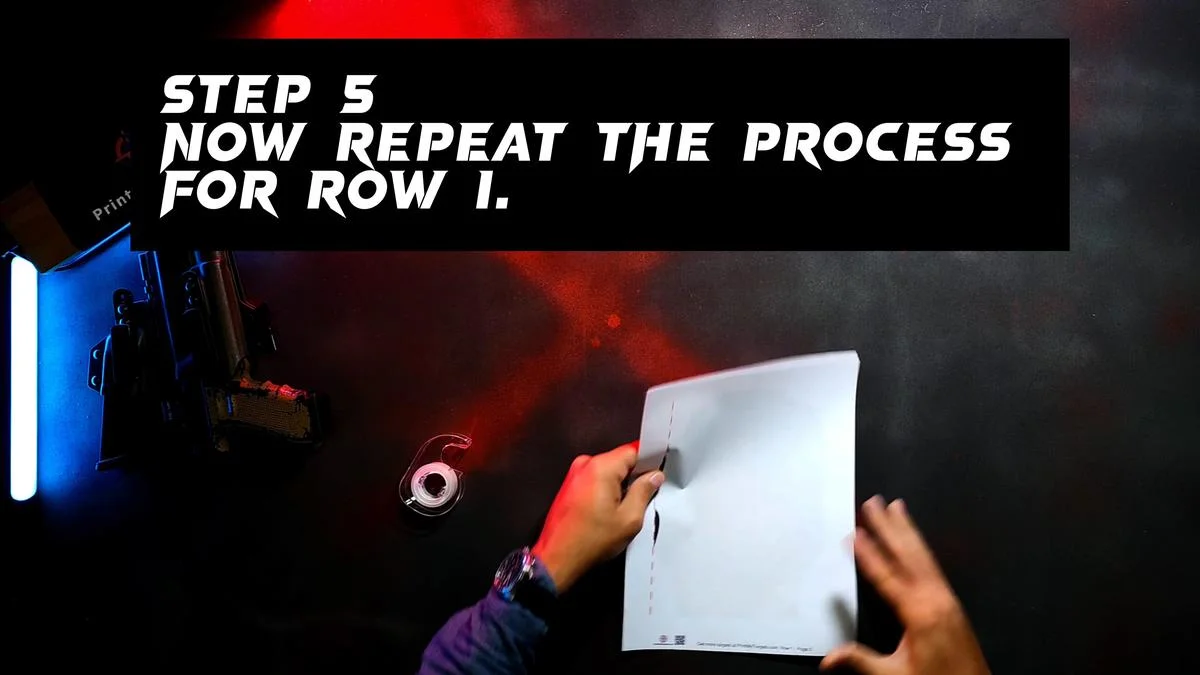
Build Row 1 (top)
Same process, but only 2 folds.


-
06
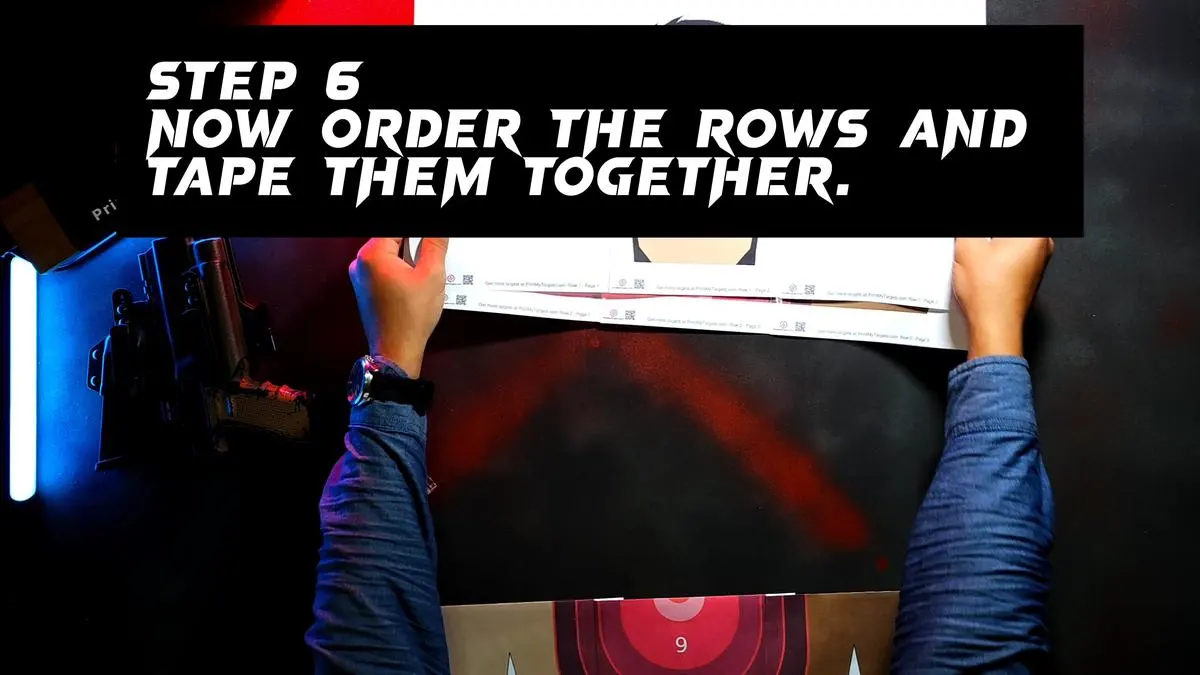
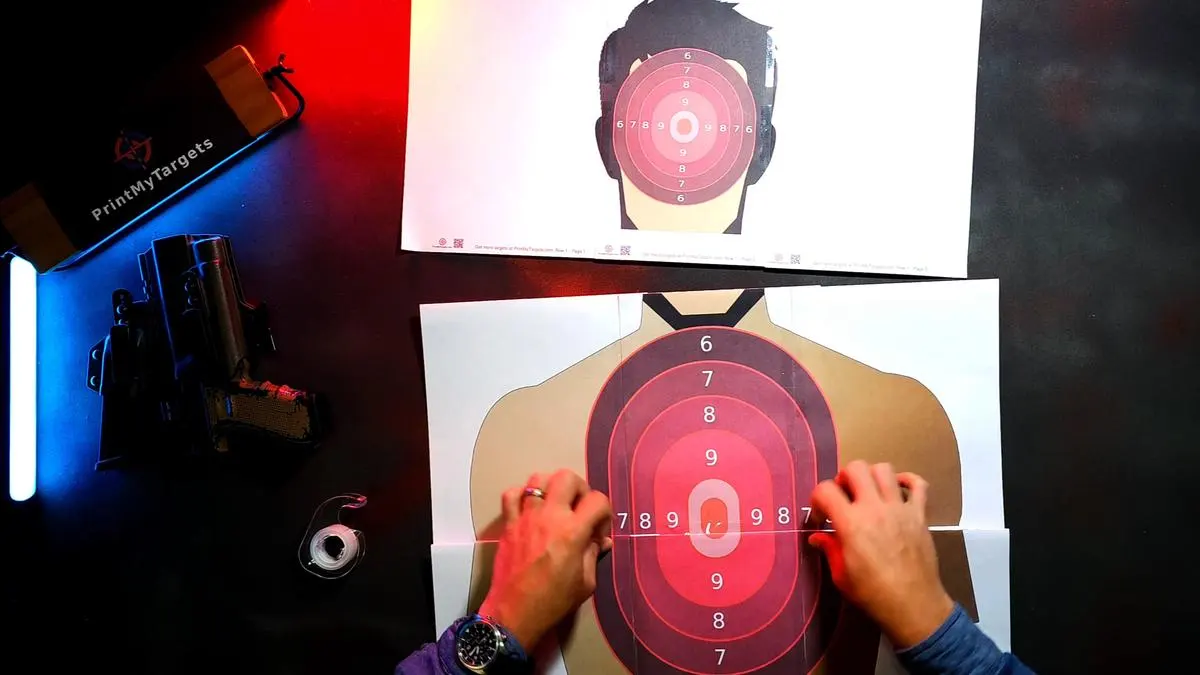
Join all three rows
Stack in order and tape: both side edges, the center seam, and the spots where four pages meet on either side of center for max hold.
-
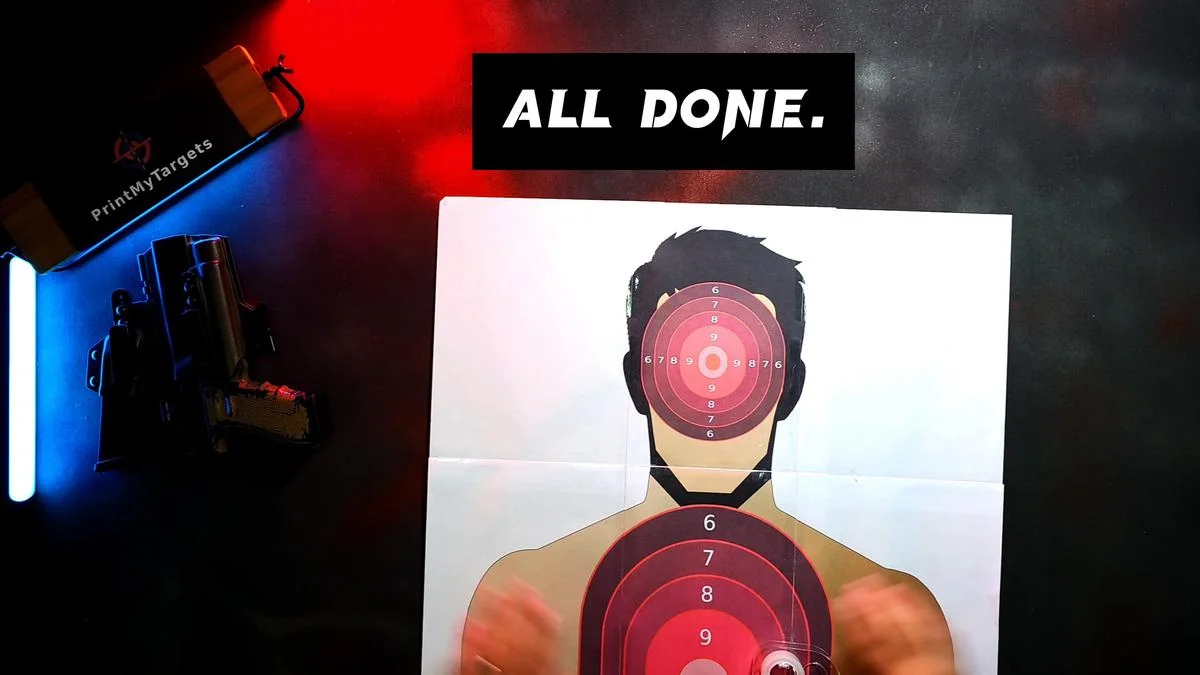
07
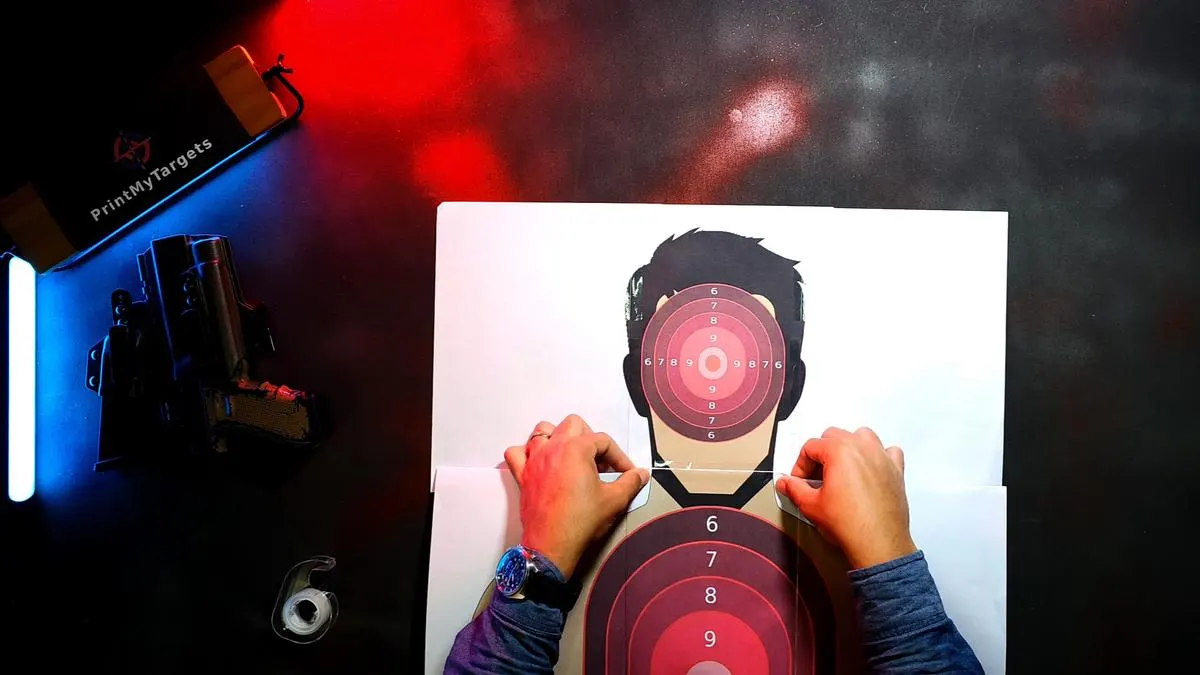
Done
Done — your large 9-page target is ready.